Portable TAL Charger
A few relevant links
Portable Magnecharger Gen 2+ project
Darell Adapter Kit
NEMA graphics
TAL Manual
TAL error list
Replacing TAL paddle/cord assembly images
* Taking the TAL charger apart requires a six-pointed security Torx bit. Size T20H
Making it portable:
I decided to mount my charger to a board to allow for easy portability, and easy wall hanging when home. The whole purpose of this project is to extend my range. I often visit friends and family who live between 70 and 90 miles away, and nowhere near a public charger. They all have one thing in common though - a 30A dryer receptacle. I've jokingly said that I won't visit anybody unless they can provide me with at least 30A at 220V. Fortunately, most of my friends realize that I'm not really kidding.
Without extension cords or adapters, the portable TAL as pictured weighs 81.5 pounds (!)
I chose a wood back board for the following reasons:
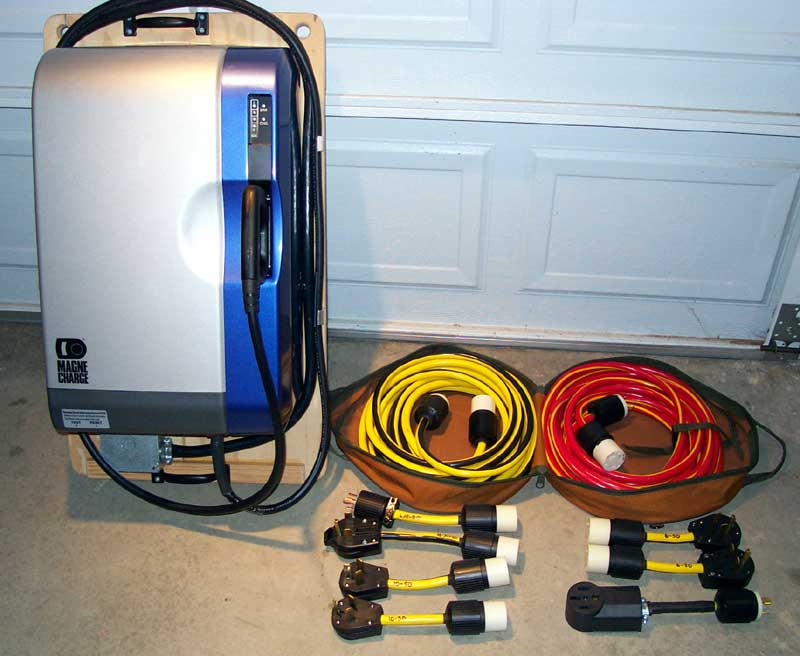
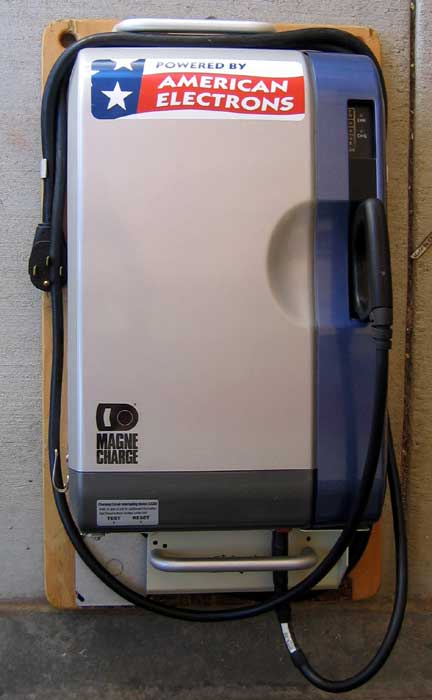
Here is the complete portable TAL kit ready for action. Kit includes:

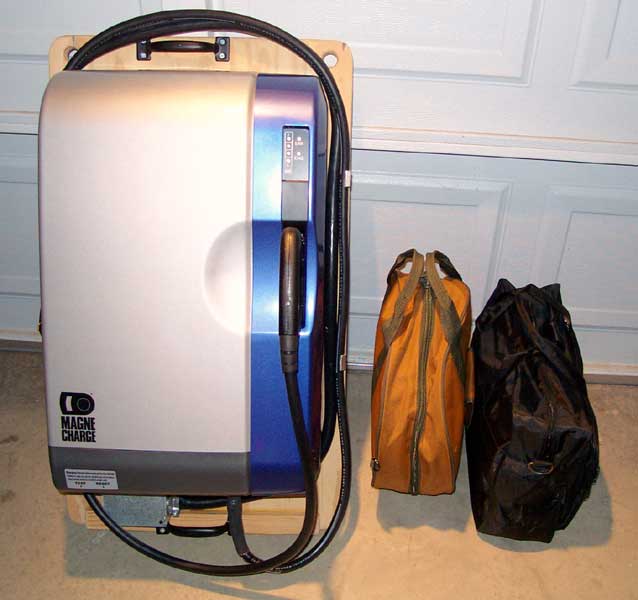
The kit packed up and pretty.
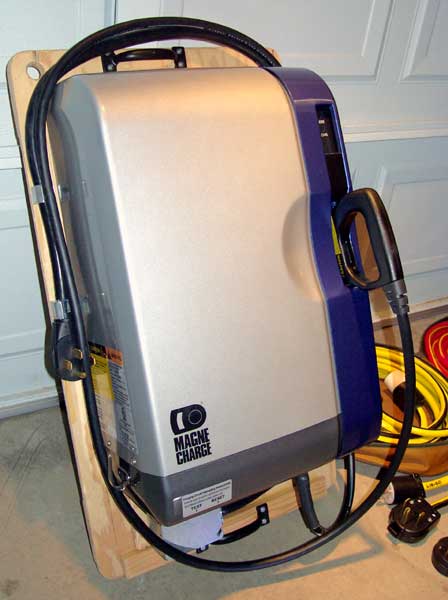
Left side: Shows the 14-50 plug molded onto
the range cord. Aluminum clips hold both cords in place for easier transport.
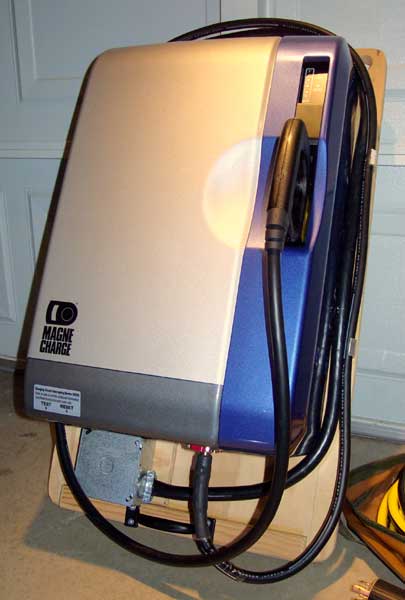
Right side: I don't like how tight the paddle
cord has to bend to keep off the floor, but that was a compromise for compactness.
I'll make some sort of clip to hold that bend better.
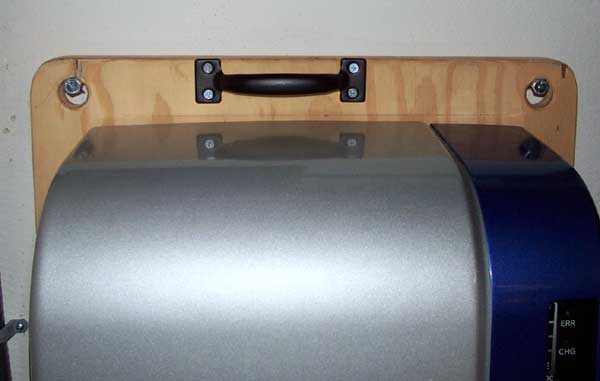
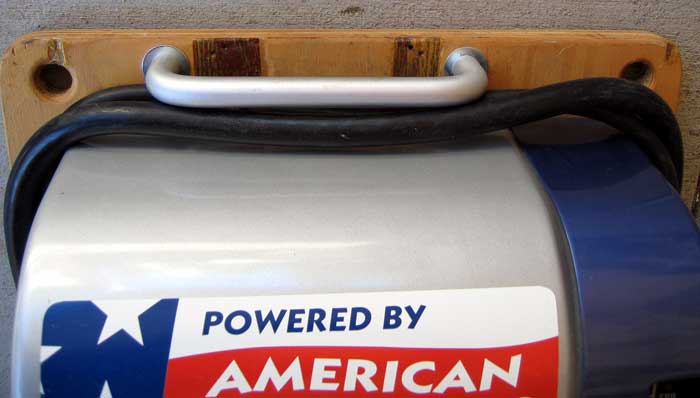
Top: Shows mounting holes.
3/4" holes
through 1" of plywood. Hanging by 5" lag bolts into studs in the
garage wall.
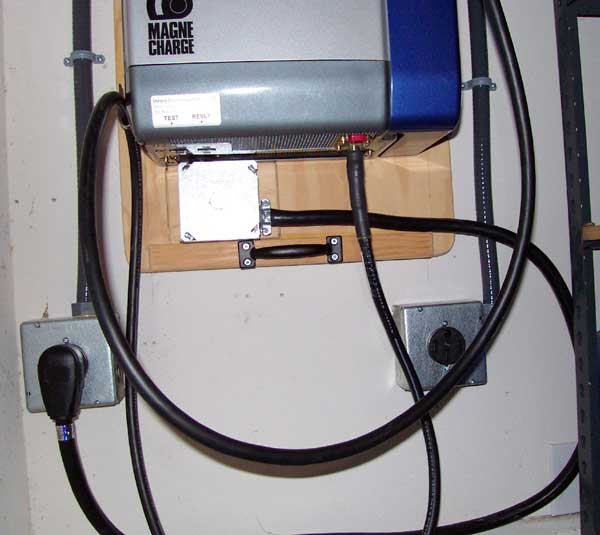
Bottom: Shows the charger plugged in for home
use. Also shows my second 14-50 receptacle to allow for charging both vehicles
simultaneously.
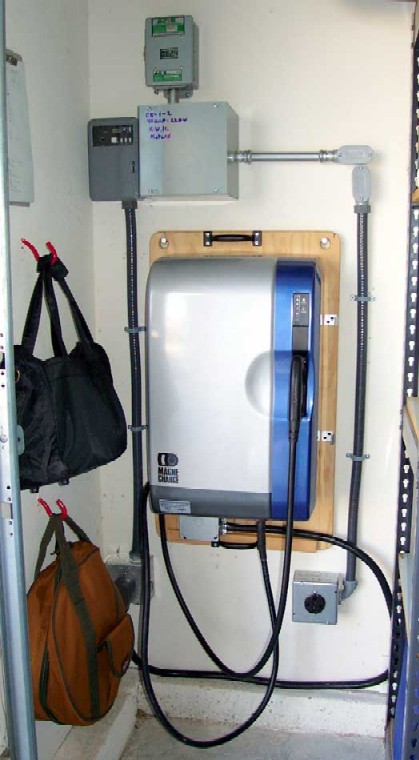
Everything at home on the wall.
The portable TAL has experienced some upgrades (added 03.14.05)
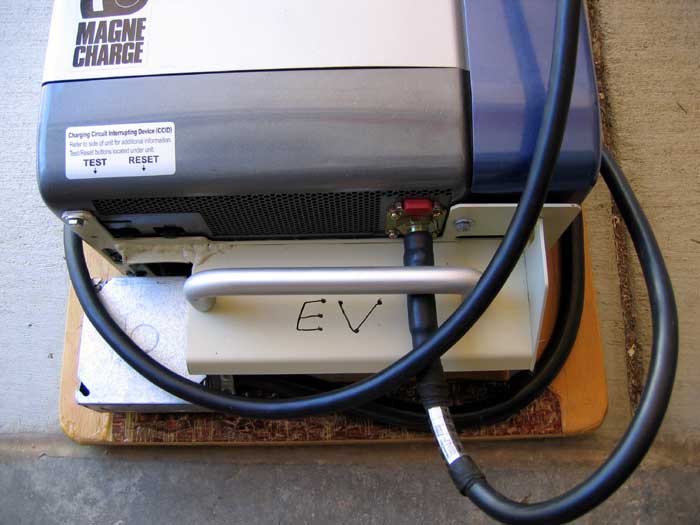
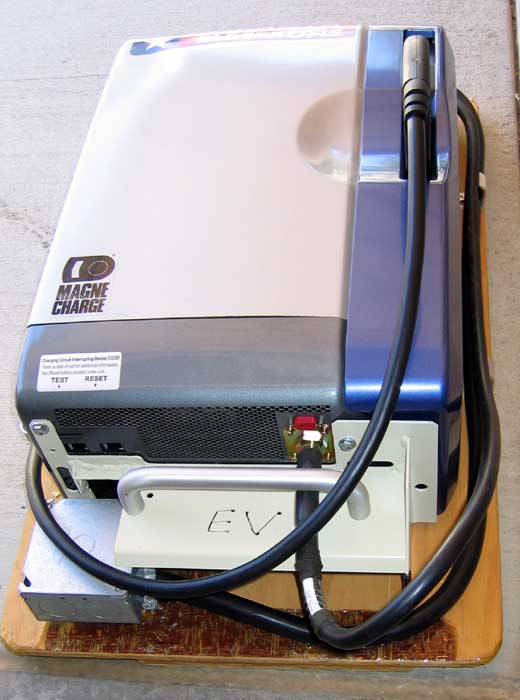
The handles I had originally used were strong enough, but not very comfortable. Also, the air deflector was originally removed, and that can allow warm exhaust air to be recirculated back into the cooling cycle. The latest version has the factory wall mount hacked down to the bare essentials, and reinstalled on the bottom of the charger. New handles were added, and the package is a bit better now.
Here is the white-painted
wall mount and new lower handle, with air deflector in place. This
handle position is easier to carry than when it was mounted much lower on
the plywood backing.
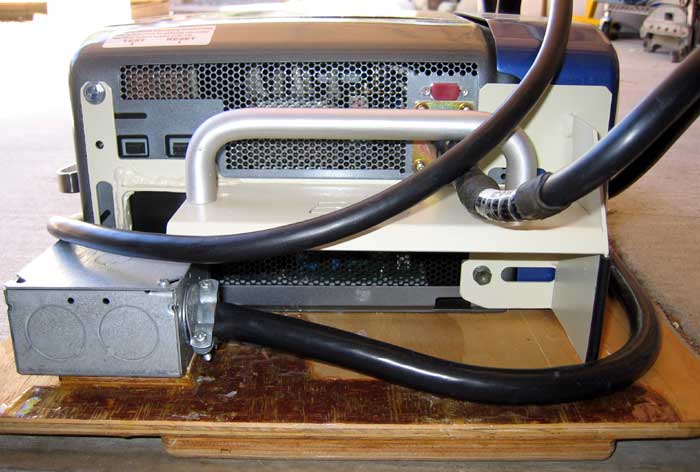
Hey, I have a plasma cutter,
so I use it.
:)
The upper handle. These
are the same handles I use on the Gen2+ chargers.
 |
Click for |