
Portable Magnecharger Gen 2+
A few relevant links
Gen 2+ rectifier over-heat
Darell Adapter Kit
NEMA graphics
Owner's manual (how to reset "delay," error list and such)
SPI error list (listsl for both Gen 2+ and TAL)
Replacing Gen2+ Paddle/Cord assembly with adapters
Tools needed for surgery:
* Note when removing/replacing the cover: IR 4-wire connector goes to connector nearest the bottom of the charger.
Making it portable:
I was fortunate enough to have the opportunity to purchased a gently-used Gen 2+ from Georgia Power in Atlanta. It took me all of two minutes to figure out that this charger would not remain in stock form.
The portable TAL project weighed in at 81.5 pounds when complete. This portable Gen 2+, weighs only 56.5 pounds complete! To reduce weight, the handles are attached directly the case (no back board), and the range cord is directly attached to the power inlet in the charger (no exterior junction box). Nothing was added to the charger that did not need to be there. For many reasons, the Magnecharger is now the charger I use the most - both at home and on the road. I am starting to think that I will never use the TAL again! In fact, it is most likely that I will leave the TAL at my most-visited end-of-range destination so I won't have to pack a charger on those trips. It will be nice to have a backup in case something goes wrong with one of them. To see all the adapters and cords, please refer to the Adapter Page.
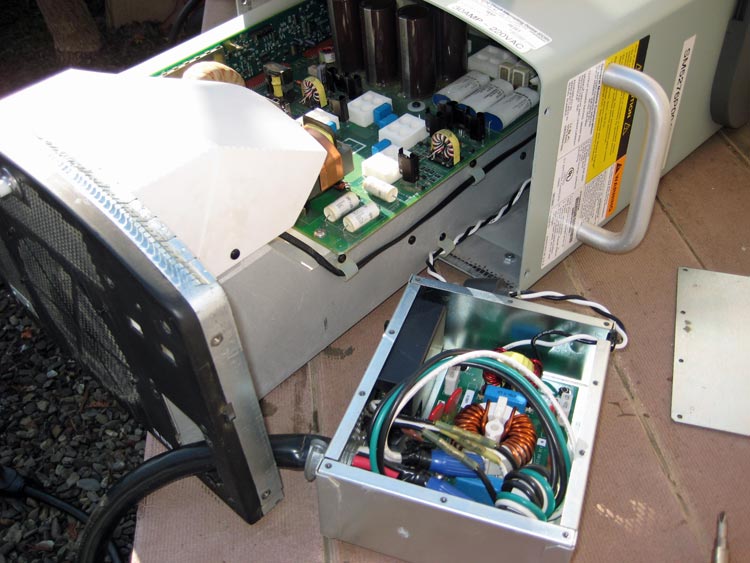
To access the inside of these chargers, you must figure out
a way of removing the 5-point Torx security screws that fasten the cover to
the innards (see above for proper tools). I use a Dremel cut-off wheel to notch the heads - then a standard screwdriver
is all that is needed in the future to remove them them.
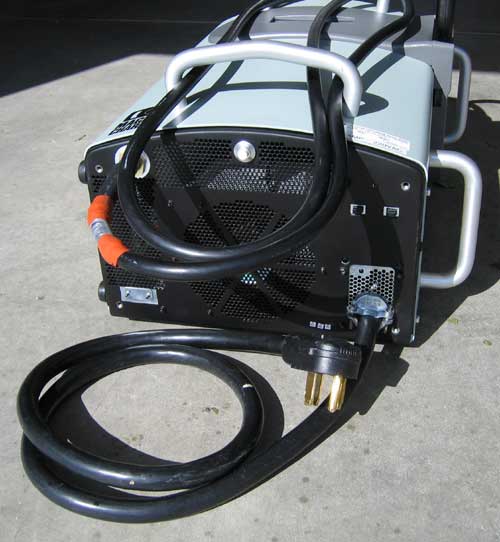
Close-up of the 14-50 range cord strain relief,
now built into the charger. I needed to increase the inlet hole to 1-3/8"
and grind some of the opening away to allow the giant clamp to fit through. This first step may have voided my warranty. :-)

Here's how the insides come out after the six (!) screws are removed. Two on each side (low), and two big ones on the back. Also shown here is the power input box. My power cord goes directly into that box and is connected into the original wires with waterproof wire nuts. The cover of that box is held on with 10 little bitty screws. Overkill?
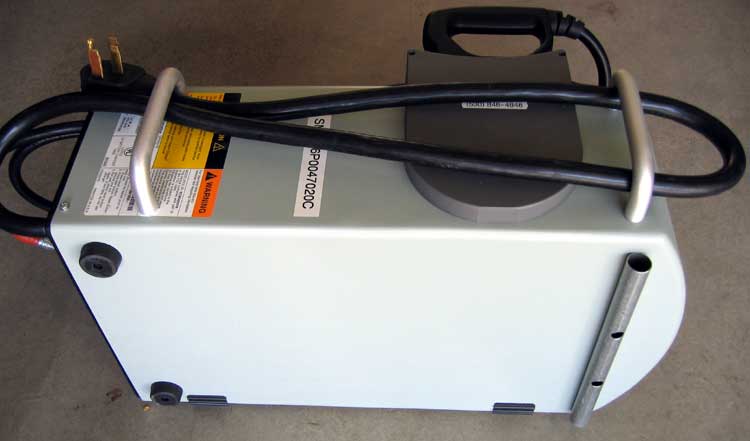
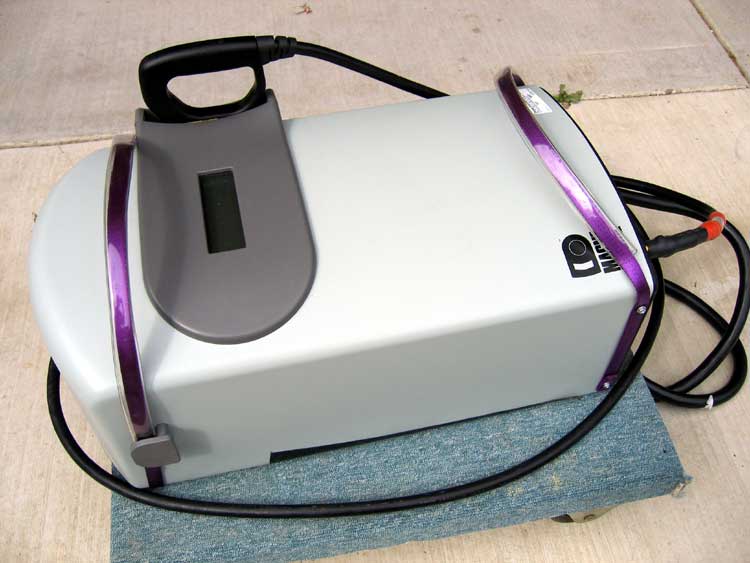
The charger has feet on the side and on the
back, so carrying and using it in both orientations is possible. On the back,
the hanging tube acts as a foot for the top, while large rubber feet keep the
bottom of the case off the pavement. The side handles work well for storing
the power cord when portable.
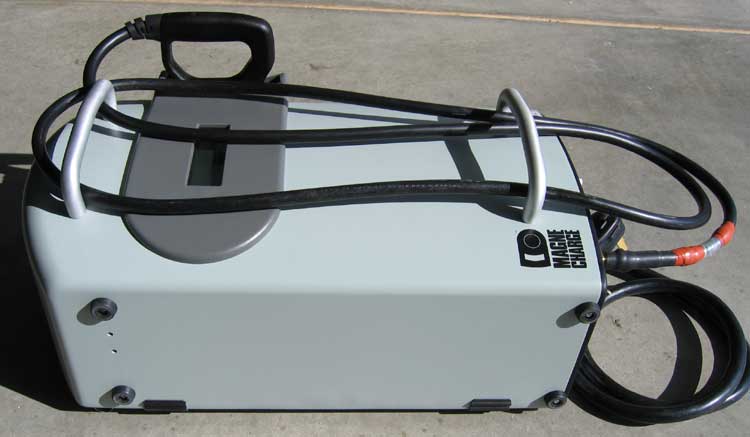
The front handles (custom-bent to conform
to the rounded face of the charger) work well to hold the paddle cord for portable
use. The four rubber feet on the side can be seen here.
.
Better shot of the bent handles on the face. The
handles need to conform to the rounded face of the charger so they'll seat firmly and bolt solidly to the face.
My first handles were bent with a huge sledge
and a jig I made. I beat them into submission. Now I can do it a bit more
elegantly with this new 12 Ton bending toy.

Mounted in the garage and ready for action.
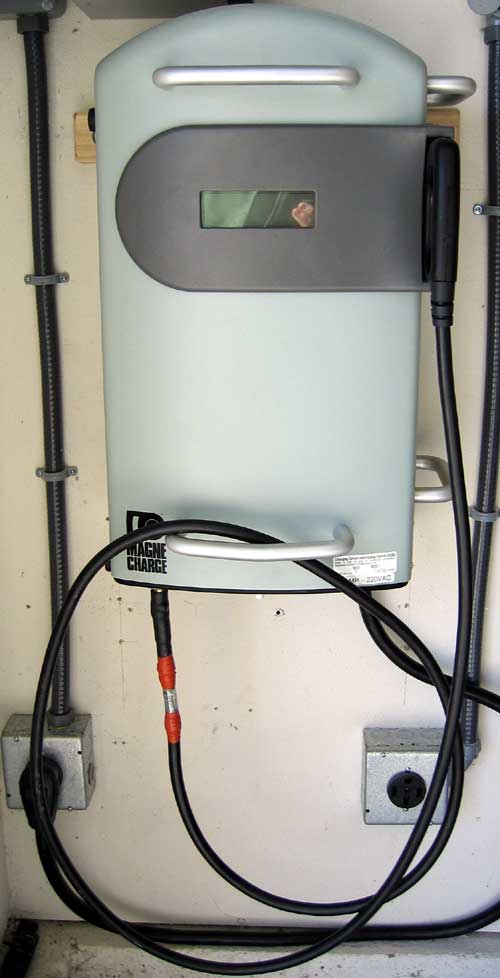
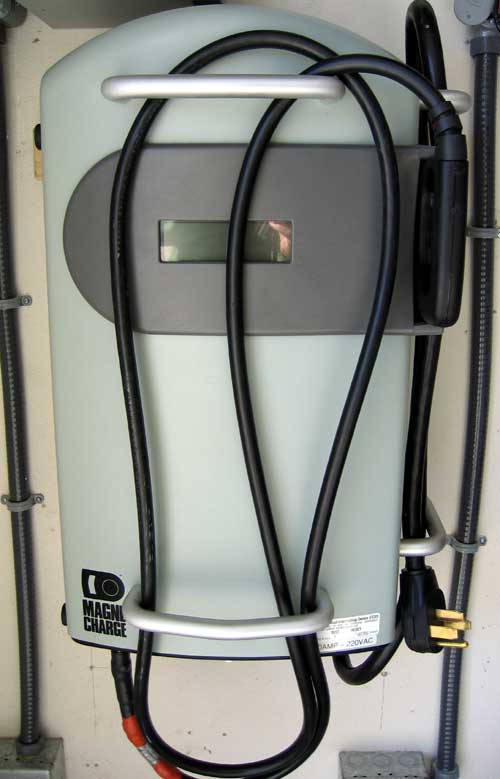
Hanging on the wall with cords wrapped for
portable use.
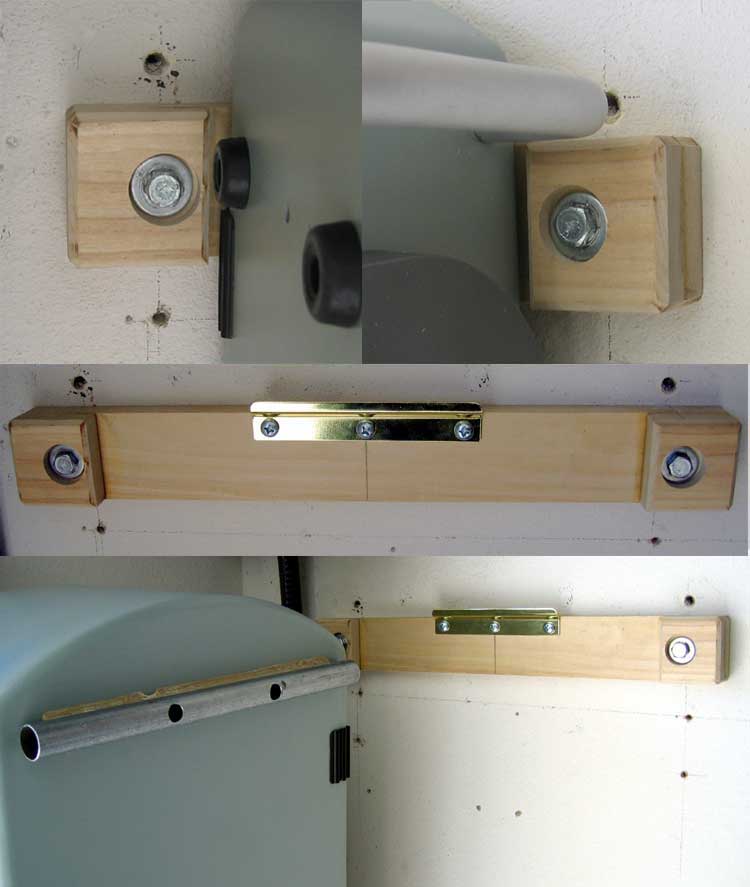
The wall mount detail. The blocks at the each
end of the mount are for centering the charger for hanging. The gold metal bracket
is what cradles the "mounting tube" conduit that is bolted to the
back of the charger. The mount is made of hardwood, and is secured to wall studs
with 3/8" x 4" long lag bolts. The charger is lifted between the blocks
to center it, and is just lowered onto the bracket. Gravity does the rest. (I
have since added barrel bolts that secure the rear hanging tube to the wall
mount - there's NO way to remove the charger without releasing those bolts).
Please disregard the hundreds of holes in the wall. This wall has seen no fewer
than four chargers mounted - all in different ways, of course! One day
I'll fill the unused holes, and repaint. Maybe.
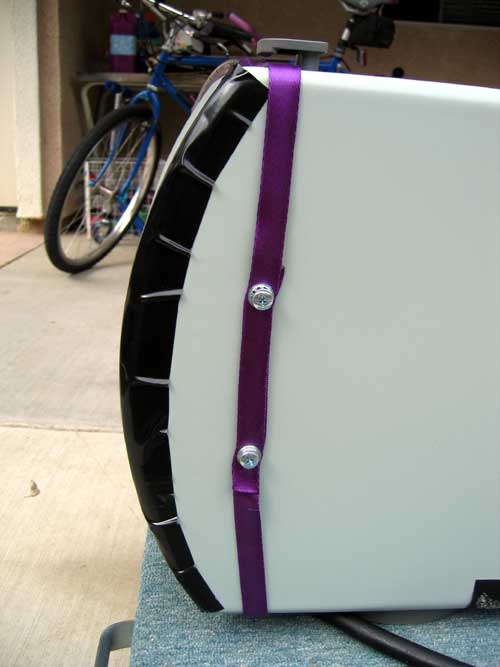
~ Here was my first version of portable handles before the aluminum ones arrived. ~
Nylon 1/2" tube-webbing straps,
covered in 5/8" ID vinyl tubing. These are surprisingly comfortable, and
weigh nothing. I melted holes into the webbing for the screws, and used internal
tooth washers to give extra bite on the fabric. In this form, this charger is
very easy to pick and carry. I
still want to add aluminum handles to the side though, for edge carry. Honestly, this is all I really needed, but couldn't leave it well enough alone. I think I still have these original straps in storage!
Attached to the 6mm charger hanging-holes on
the back (the tape is just to protect the case while I'm fooling with it.
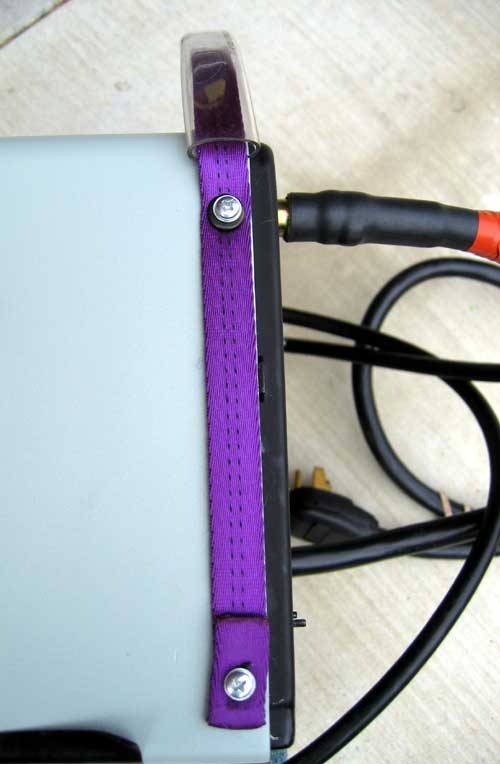
The side of the bottom strap, using the 4mm
screws that hold the charger guts into the case.
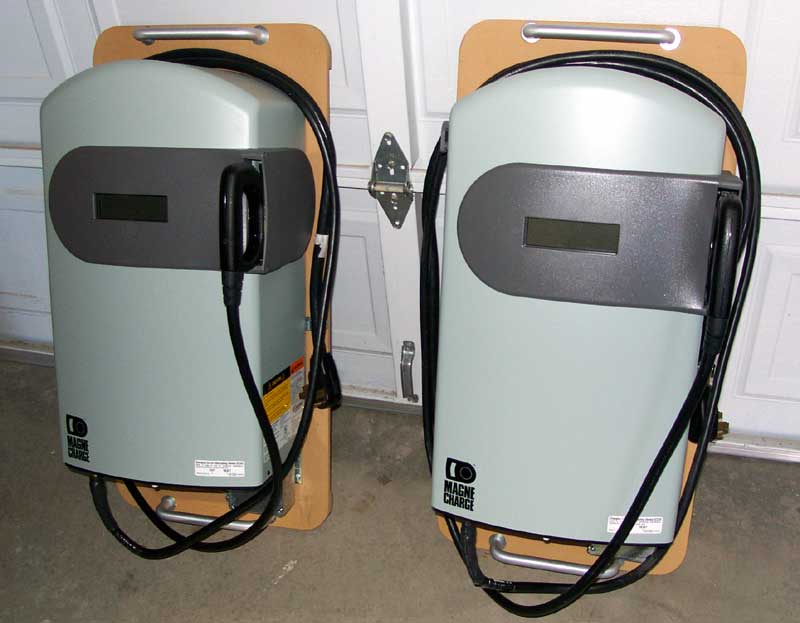
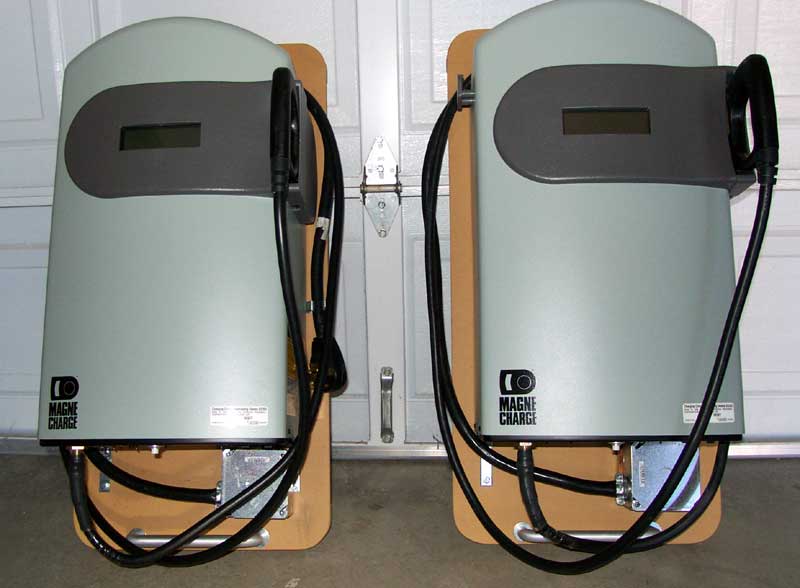
Here are two Gen2+'s that I recently portableized for a customer.
I used sturdy commercial handles and the same six-foot range cord (and
exterior junction box) used on the TALs. No hanging holes here since these are
purely for portable use.
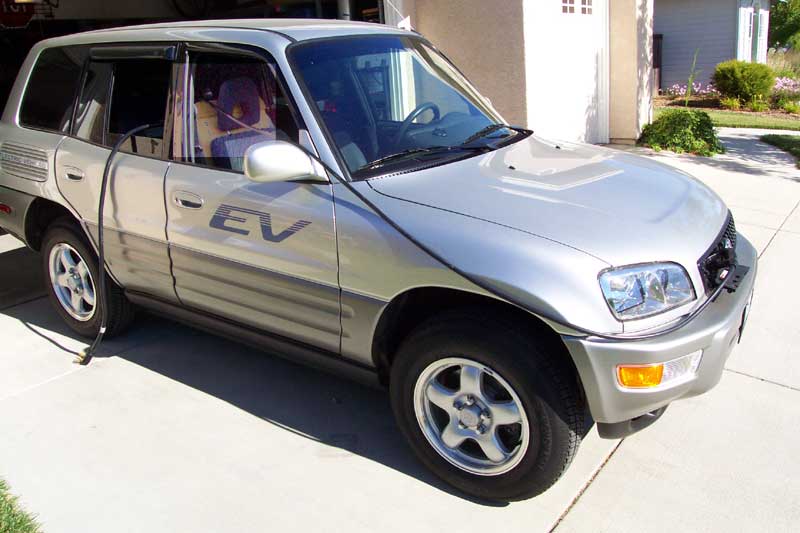
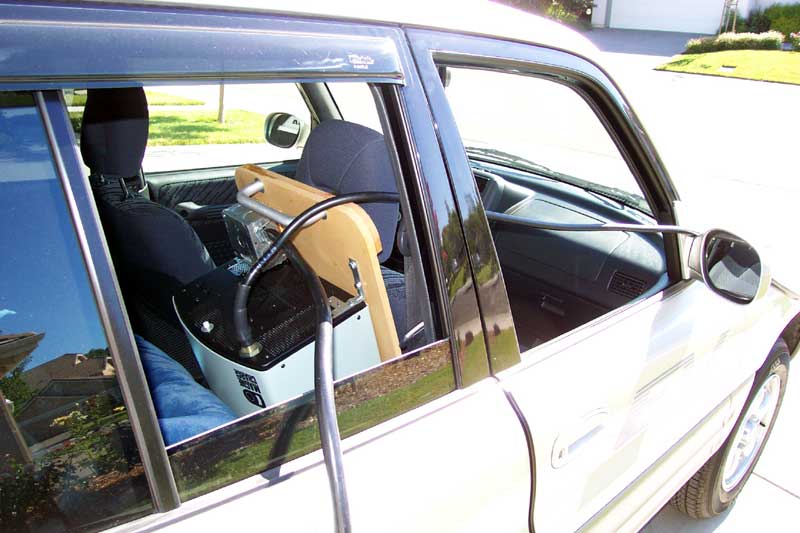
The following two pictures show one of the
Gen2+'s behind the passenger seat of the Rav4. In this way, the charger can
be used without having to remove it from the vehicle. The charger is facing
to the rear, upside down, and the top of the board is resting on the floor behind
the passenger seat.
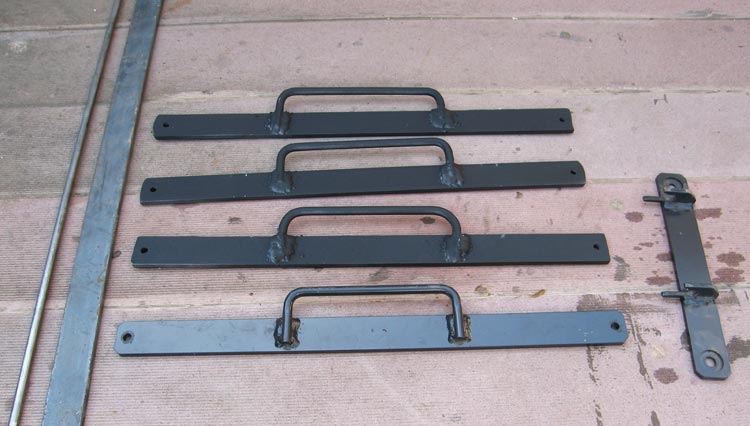
Some hanging brackets I made for EAA Gen2+ chargers being redeployed. Shown with the genuine article at the bottom. My welds aren't much worse than the factory guys'!.
Click for |