Toyota Diagnostic Checker (Scan Tool)
The original Vetronix- manufactured Toyota Diagnostic Checker or "scan tool" was discontinued about 2007 and replaced by a Panasonic "Tough Book"-based laptop unit. Vetronix's generic name for the TDC is "MasterTech 3100".
Finding a fully serviceable and decent "used" Vetronix Checker with all the correct connectors is tough and not cheap ($1500 - $2K). It is also necessary to acquire an appropriate corresponding "Data Card", and have it programmed (can only be done by a Toyota dealer) with the RAV4 EV software program (version no. 14 is the last software update I'm aware of before the Vetronix unit was made obsolete).
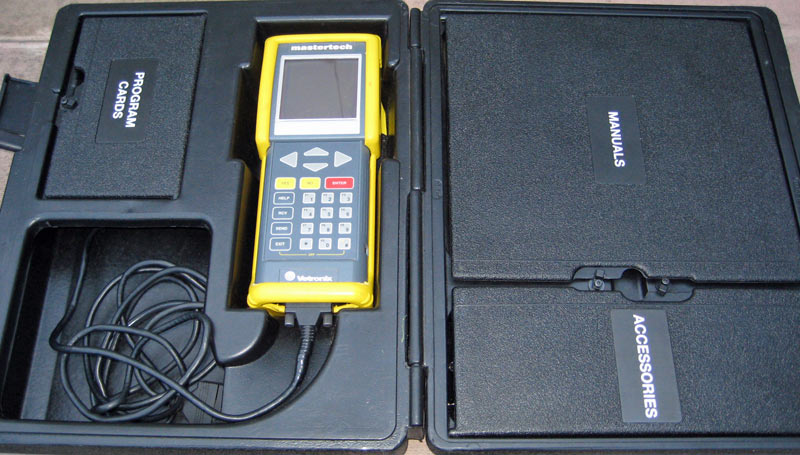
Some images of the TDC and case:

My use of the tool:
02.26.2010. I performed a full discharge and recharge of my pack, followed by an SOC reset at full. The problem I am trying to correct is an SOC meter that displays 25-30% at the point where the car should no longer be driven (lowest module at about 10V). In my case, I began the charge sequence from zero SOC at 2am, and it was completed at 7:22 - for a total time of 5:22. (351V pack, 14.8V per module). At this point the car wanted to perform a leveling sequence. I interrupted that and forced the "full" SOC reset. The result: about 10% better range, but still the car shows 25% when it should be showing zero.
04.02.2010. I performed another full discharge and recharge of the pack, followed by an SOC reset at full. This time I let the leveling charge complete as well. Started charging at 11:51pm and terminated at 7:13 after the level sequence - for a total time of 7:22 (exactly two hours more than interrupting the level sequence). Each module showing 14.6V. I reset the full SOC just 30 seconds after charge termination. No improvement in range.
To use the TDC device, it is connected to the OBD2 port, and the ignition key is turned to the "on" position, but not "ready." Note that not all steps are lined out here, but the ones missing should be obvious by reading the screen and pressing enter when appropriate.
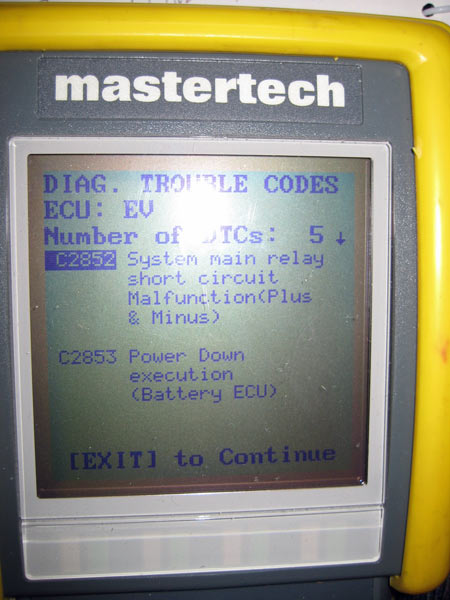
To check and clear Trouble Codes:
To discharge battery:
First run the car down as low as you safely can with gentle driving. Then park where it can sit for many hours with the windows down (and hood up is preferable). The discharge feature operates the HVAC system (thus warming or cooling the interior considerably), and the battery cooling fans. If you want to make your EV loud, this is the best way to do it!
Reset the SOC:
After discharging the pack and letting it cool, it is time to recharge and reset the SOC. Use the paddle to charge the car to full. It is likely that the car will perform a "leveling" float charge after this empty-to-full business.
Turn on the battery fans manually:
(Since both blowers are 1/3 hp fans (they draw 18 amps or so from our nominal 12 V source - 13.6V when the DC-DC and car is on). When the car is off that's drawn from the battery alone, which will drain the little thing to a near-fatal level in short order. Beware! Use a (shore powered).battery charger hooked to that aux battery when doing this for any length of time, or risk not being able to get to 'READY'. )
To view all internal resistances and Voltages:
(Note that internal resistances above 9 will be difficult to read. This is because the last digit of the module number will be replaced by the first digit of the IR. If both module 12 and 15 have an IR of 17, those two lines will show "117". To avoid confusion, just count each line in order to know which module you are dealing with, and read the final two digits only
Click for |