Saris Thelma 2007
04.16.2007 - I took delivery of one of the first retail Saris Thelma racks today. I assembled it, and and installed it on the Prius. My overall impression is quite good - exceptional idea and design - though there are a couple of issues that I've already mentioned to Saris - I mention them near the bottom of this page. (All but one of these issues - and more! - have been addressed in the current model of this rack).
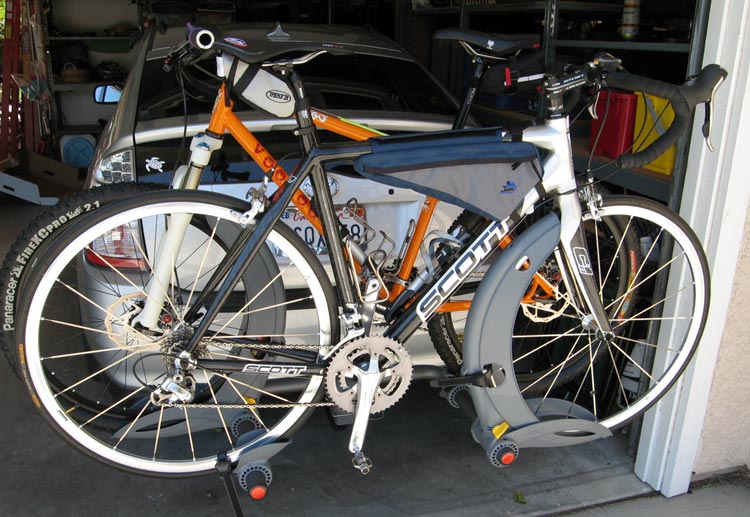
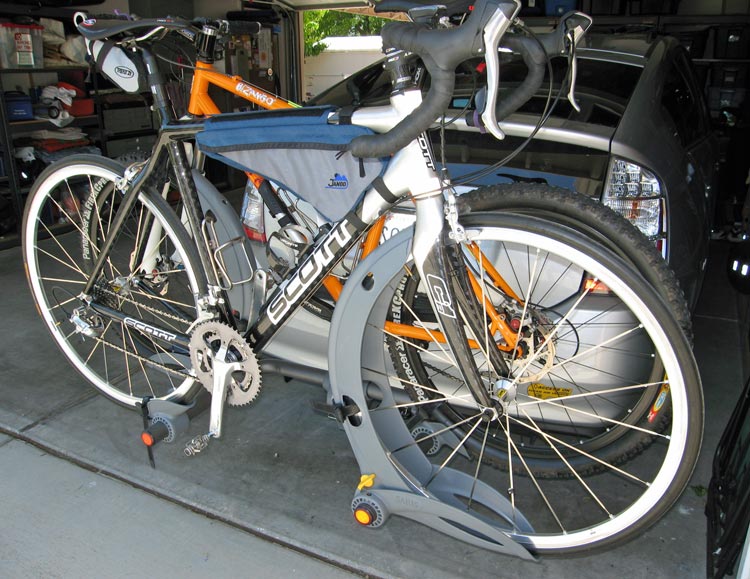
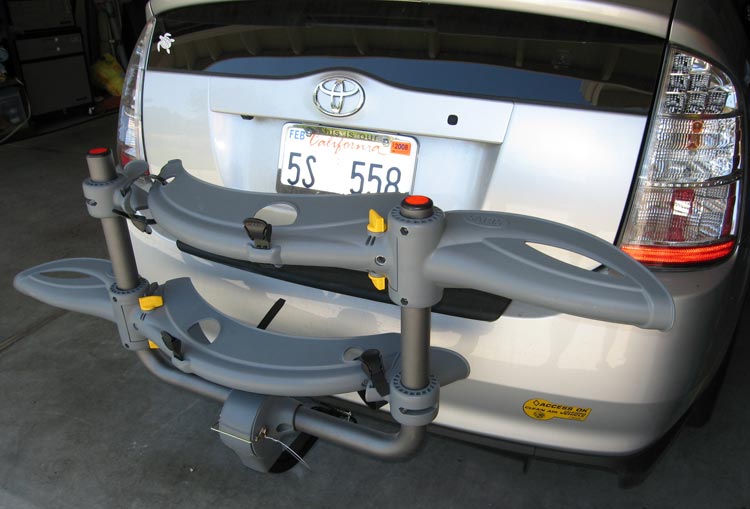
Here is the Thelma all loaded up on the Prius. If you look closely
at the road bike's fork, you can see one of the problems I had initially (the wheel cup touching the fork). (Please note that I installed the rear wheel tray the reverse way (from the instructions) on purpose to see if I liked it better that way - I didn't, and switched it back).
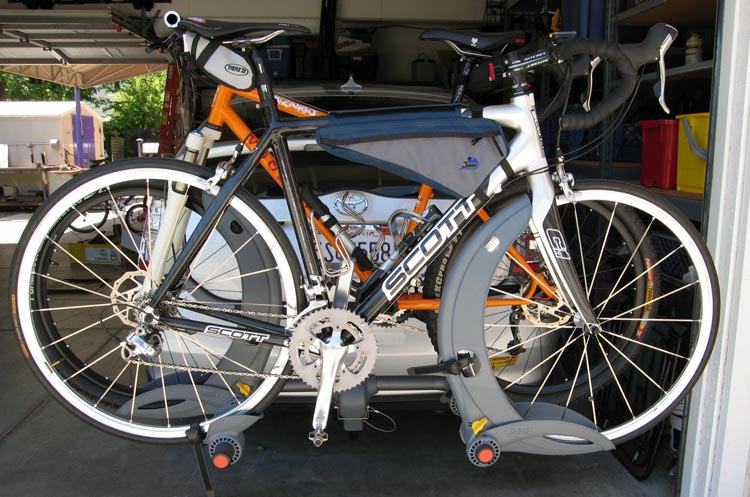
I think the distance from the vehicle is about perfect. Gives
you plenty of room to open the hatch, and yet folds up nice and tight to the
rear bumper when not in use.
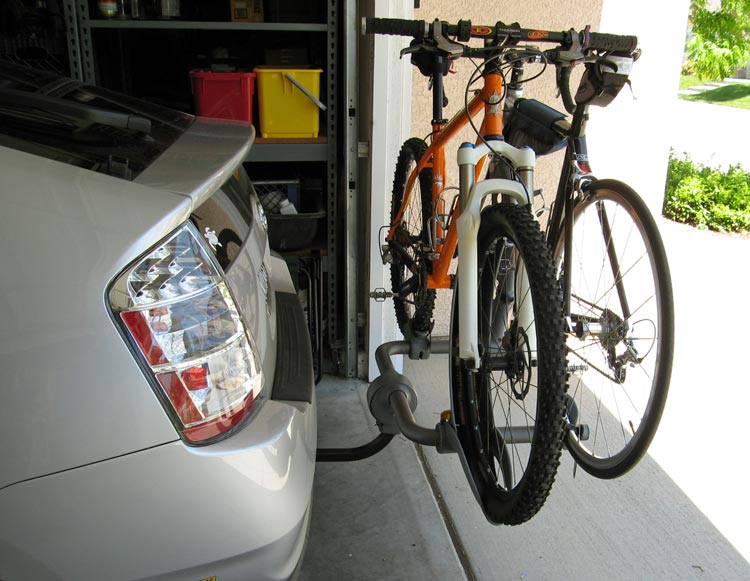
Here we are folded up. To fold it up, the wheel strap needs to be used to keep the big wheel cup from flopping toward the car. On the current model of this rack, the wheel cup clicks into position and you don't need to fool with the strap (thought it is still prudent to strap them for long drives in this position). The spring for the pivot lock pin has also been greatly improved on the latest Saris model.
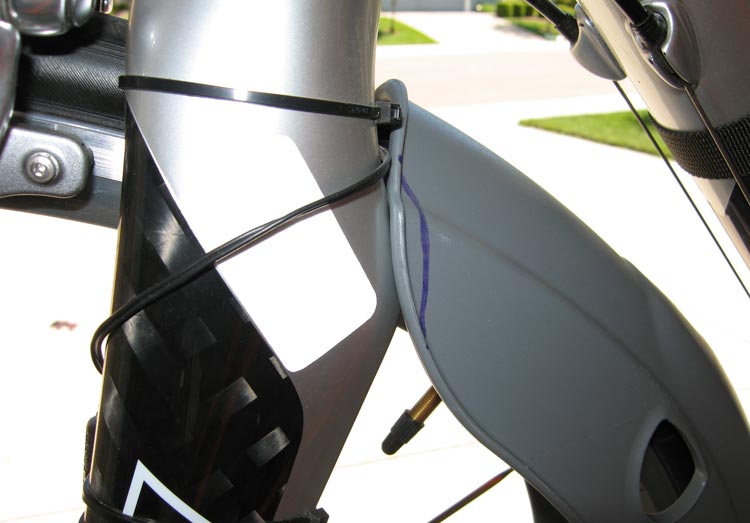
And here, unfortunately, is one
of the problems I had - improved on the current model, though not solved. The front wheel cup hits the back of my carbon fork! That'll
never fly. My Scott is nowhere near an "exotic bike" either, so I was quite surprised to find this issue. Here I have marked where I will have to cut.
And here after I've done the modification on both sides. Works
perfect now, and I haven't changed the performance of rigidity of the cup
in the least.
![]()
![]()
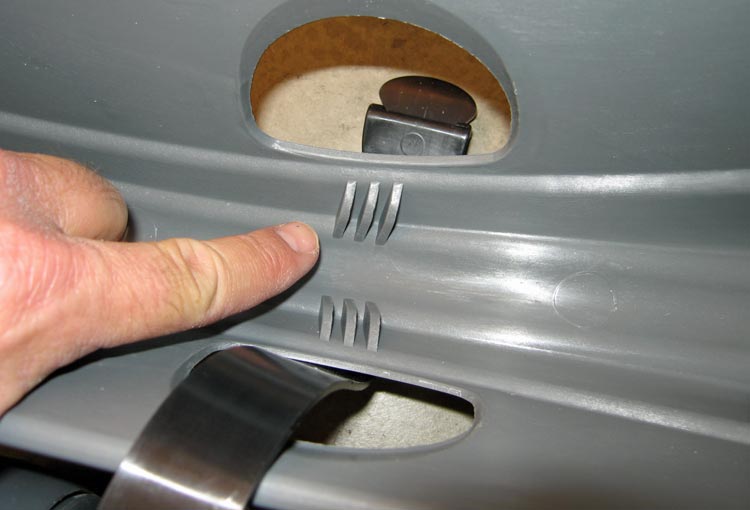
I have found that the part that holds skinny tires should be
configured to hold even skinnier tires. I have 23c tires on my bike - certainly not the most narrow tires around. And the front tire still has some play
when strapped down tight. I'm pointing here to the little shoulders responsible
for holding skinny tires in place. They need to start closer together down
on the end that attaches to the cup. Tossing a shim of leather or something
similar in there makes for a more rigid mounting. While I can't tell what the difference is, the new Saris model holes the front 23c tires more firmly.
The final issue is that the nylock nuts are intended to be held by plastic hex-shaped holes while you tighten the bolt from the other side. I had three of the seven nuts spin in the holes, and once that happens, there is no way to continue tightening, or to remove those bolts! There is no easy way to fit a tool in there to hold the nut. (solved on the current model by using nylon spacers to bring the nuts up to the solid plastic.. and using square nuts instead of hex nuts)
Here is one of the rear wheel trays. The instructions - which
I followed closely - say to hold one end of the slot up against that nut to
(obviously) keep the nut from spinning. Well, I pressed against one edge as
hard as I could, and the nut still spun, and dug out a circle of plastic.
I tried the other end of the slot with the same result. I never did get this
one tight. The problem is that the nylock nut offers more friction than the
plastic hex shape can overcome. At least I can reach in here with some needle-nose
pliers if I want to get the nut back out. Fortunately, these rear tray nuts
do not need to be completely tight for the system to work. This was fixed with the new version of the rack by using a nylon shim and a square nut.
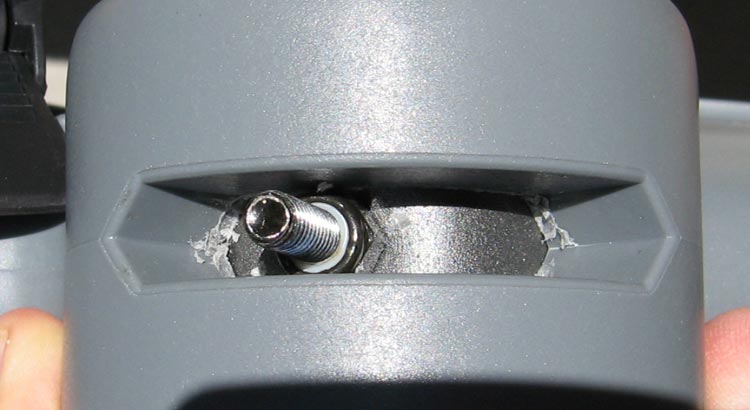
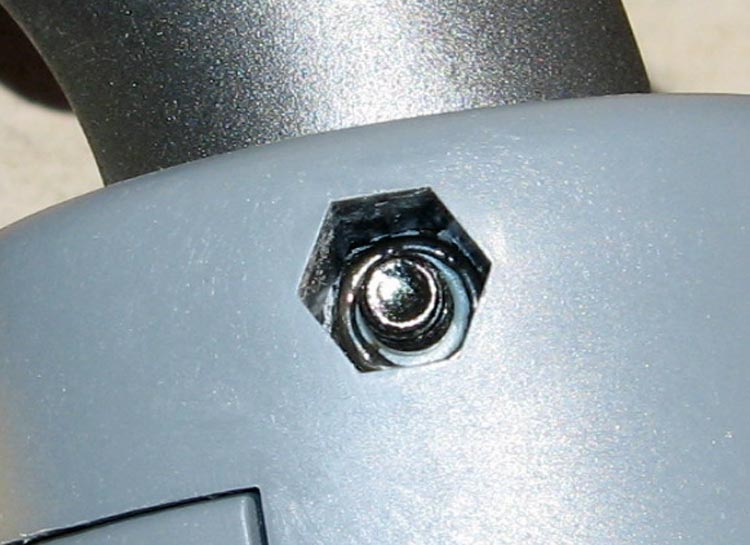
The front tray bolts are a different story. These nuts need
to be tight for the system to work properly. Everything went fine until the
nut was almost tight. And then, at the bottom of the hole where it is impossible
to reach with any tool, the nut spun in the plastic. Now there is no non-destructive
way of removing that nut... or tightening it further. Not easy to see the
damage in the picture since the nut is so far down in the hole, but you can
make out the white plastic fuzz like in the photo above. This issue was fixed in the new version of the rack by using a nylon shim washer to bring the nut up into the stronger part of the hexagonal hole.
Click for |