Rav Vent Screen Replacement
When I first removed my quarter vents
to modify them with magnets, I was surprised at the small size of the screened
area for the battery-cooling intakes. Why create such a large louvered area,
but use such a small area of screen? I may never know what Toyota was thinking
when they designed this whole quarter vent area - but I don't think they had
the consumer in mind! The factory screen is small, is held in with bolts that
are hard to access, and of course is behind that difficult-to-remove plastic
louver piece. The challenge was to make a much larger, easier to service screen
that made some sense.
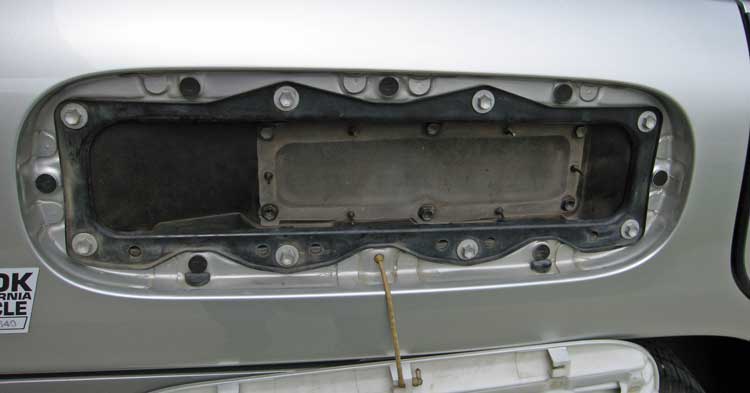
First, here is what the stock screen looks like (dirty after just six months,
btw).

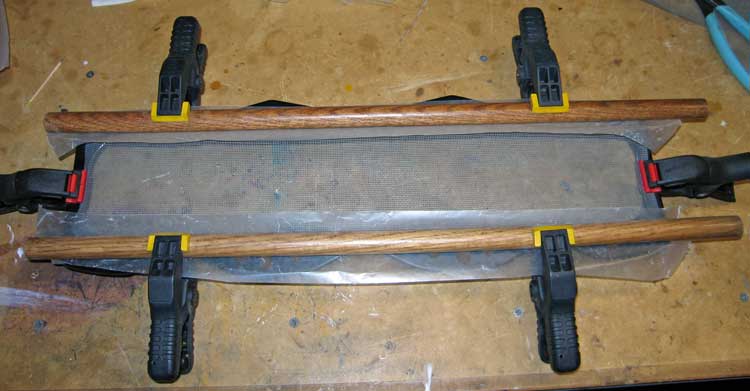
I removed the black frame that holds the giant rubber gasket in place, and
epoxied on some fiberglass screening. The first one was almost a disaster,
but the second one went really well after the steep learning curve of the
first.

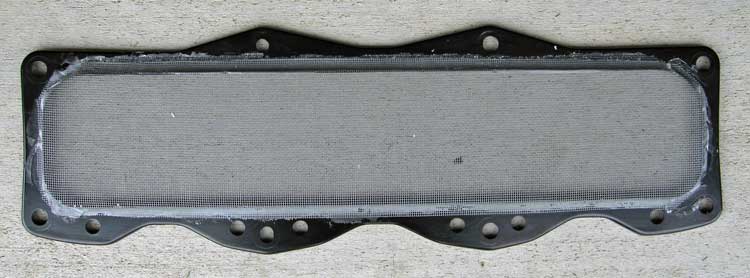
When done, it looks reasonably good (from the back still - and of course
I'm only showing you the good one).
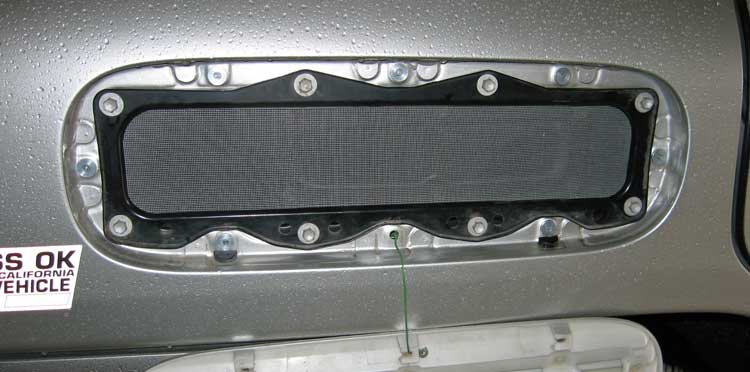
And when installed on the vehicle, it looks GREAT. This is one of those mods
that turned out so well, that I'm almost sorry it is hidden! The Jedd Clampett
way to achieve a similar result is to just roughly cut the screen an inch
larger than the opening, hold it over the hole, and bolt the frame on to clampett
(get it?) in place - sandwiching the screen between the black metal frame
and the giant rubber gasket.

Toyota... if you're out there - THIS is how the vent screen should have been designed. It is well over twice the surface area, and SO much easier to remove. And I'm serious: What were you thinking?
 |
Click for |