Cruise Control
The Rav4EV lacked factory cruise control, so some expense and hassle was required to add this "required" feature. Bummer, yes, but it sure works well once it is installed. I wouldn't be without it! Michael Schwabe is the one who located the high-quality system and figured out how to get it working with the Rav4EV. Tom Dowling and I worked with Michael to figure out how best to get it attached to the vehicle. Here are my installation instructions (in WORD). You will likely notice that I veered wildly off course for my own installation pictured below.
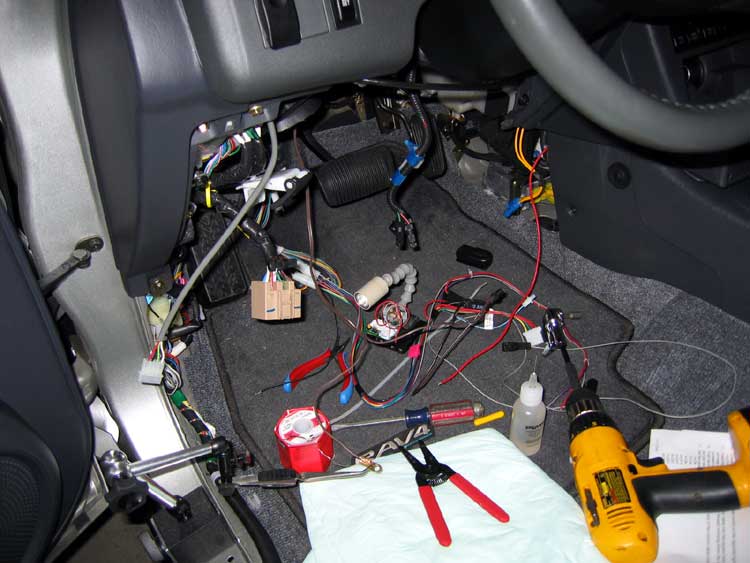
This first picture here shows everything you really need to know. You remove
everything that looks factory-installed, and add a bunch of wires, and you're
done.

Once you are done, this is the only outward indication that anything was
added. A new momentary rocker switch on the dash. There are two blanking plates
here that keep the tire pressure switch company. (The switch banking covers
are PN 55539-42021-BO or 55539-42030-BO)
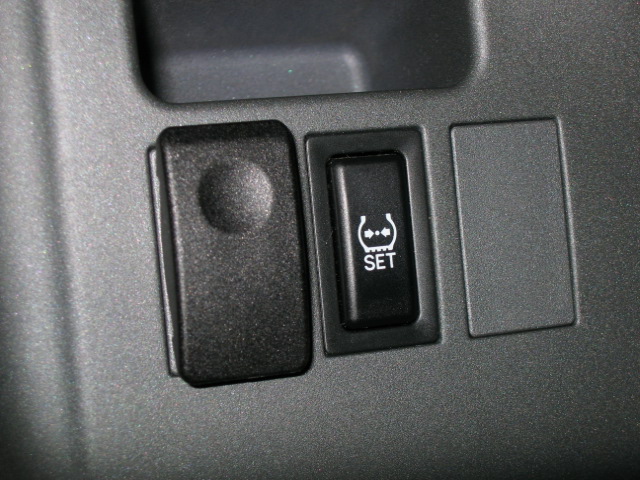
Driver's view of same.
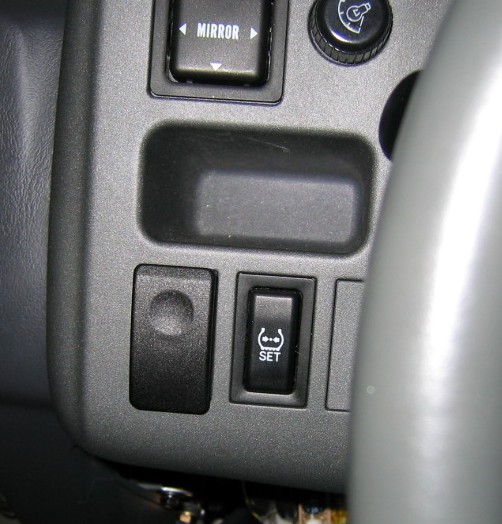
Here is the switch mounted in a blanking
plate before insertion. It just *barely* fit, but I liked the switch
so much, I wanted to make it work bad enough to succeed.
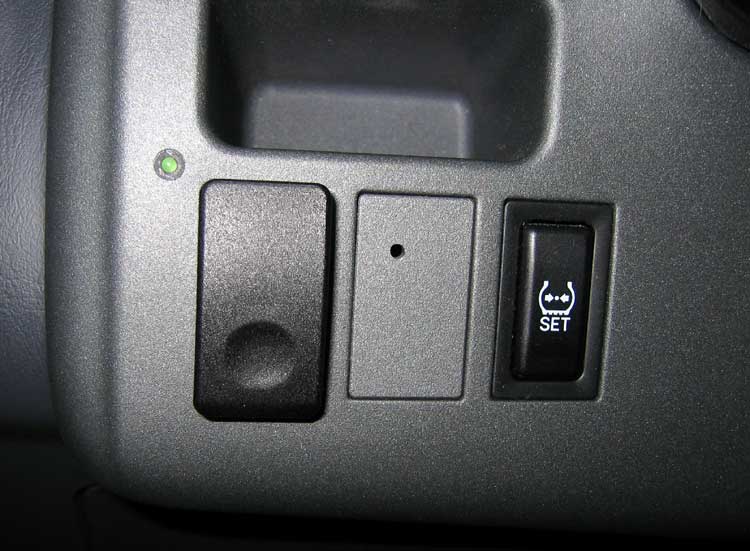
I finally ended up adding an LED indicator lamp. I initially installed it
in the blanking plate in the middle, but the steering wheel eclipsed it enough
to make it useless. Yes, I have an extra blanking plate, but I figure the
empty hole adds more character.
Throttle arm assembly removed from the vehicle. Modification of the throttle
arm isn't part of the official instructions, but I rarely do things the easy
way. I wasn't about to modify the throttle arm whilst standing on my head
under the dash, so I yanked it out of there. Here you can see that there are
several adjustments that can be made to the throttle assembly.
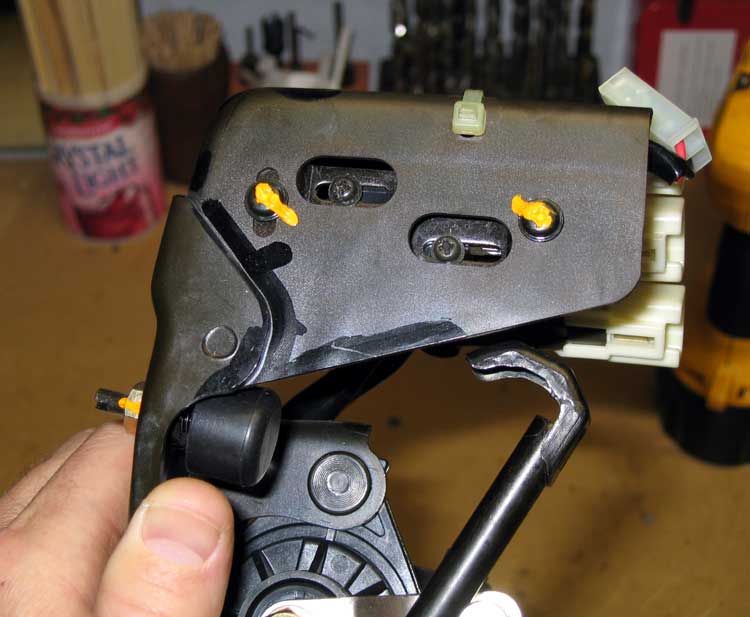
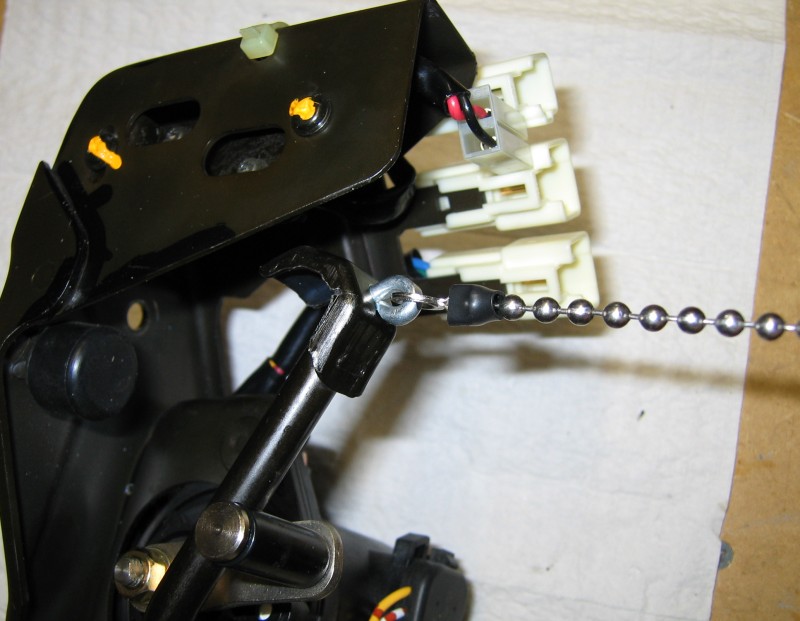
This shows the eye that I made to hold
the cruise control cable to the top of the throttle arm. The little eye
passes through a hole I drilled into the top of the arm. The eye is threaded
and is nutted on the other side.
A bit of shrink tube assures that the ball chain will not fall out.
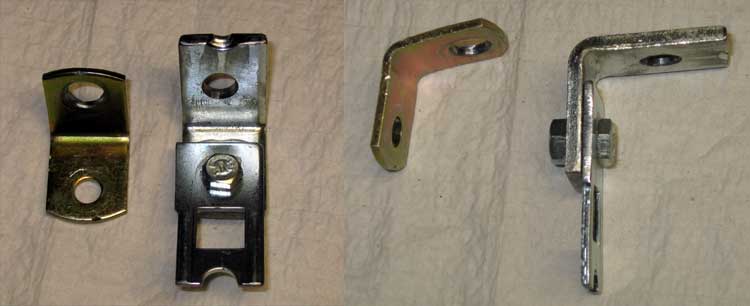
After much trial-and-error, I created my own bracket from the one that came
with the CC unit. The gold one is my first attempt, and the bolted silver
one is the one I use today. It has the benefit of allowing quick cable slack
adjustment because the square hole enables me to snap the cable out of the
bracket for adjustment. The bend is in much thicker steel and most definitely
stays where I put it. Again, the easy way isn't the Darell way...
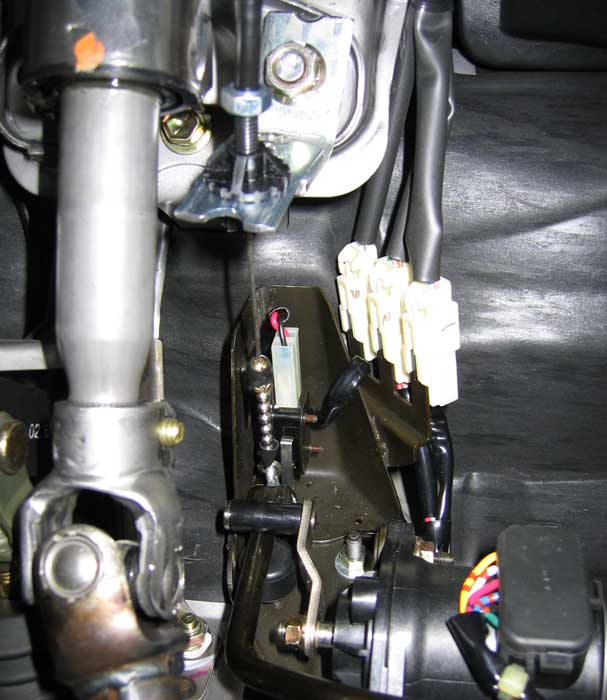
Here is the bracket bolted up with the cable snapped into place and the cable
end attached to my new eye in the throttle arm. This shot looks up under the
dash. Throttle arm is in the lower part of the picture.
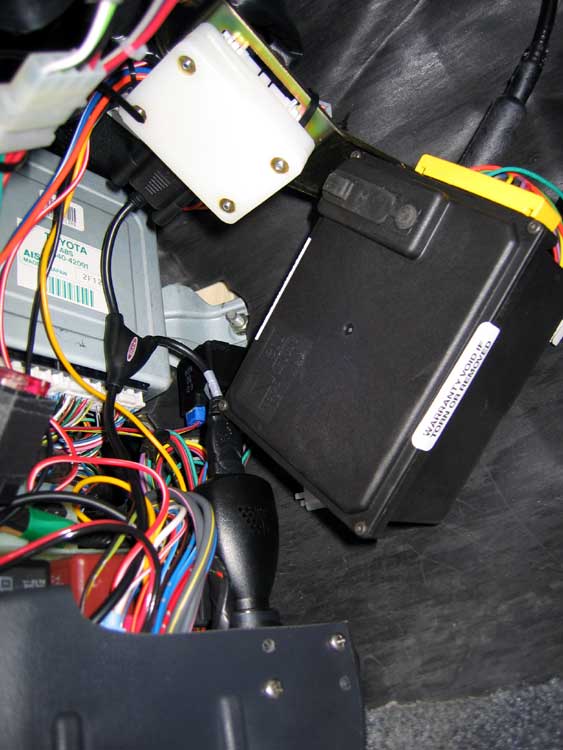
If you lived under my dash, these would be your neighbors. The white block
at the top is my OBDII interface for the Rav4INFO.
The black box is the cruise control stepper motor and brain (dip switches
are under the rubber hatch, and the cable comes out the top). 12V lighter
plug at the bottom, middle (held to left toe-kick panel with two screws in
four holes) is the USB power for the Palm device that runs my Rav4INFO.
The brain for the keyless entry system is in there somewhere too. Lots of
wires.
 |
Click for |