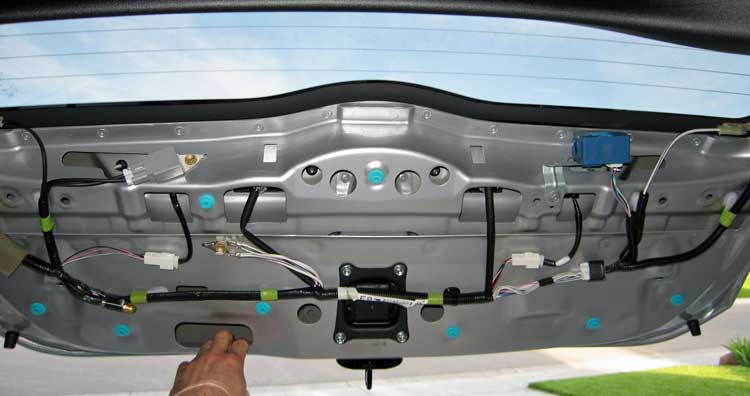
Some bright guy had the idea that the license plate lights should be converted to LED. I'd been meaning to do it anyway, but couldn't figure out how to *easily* remove that plastic panel on the rear hatch. The Owner's manual contains the helpful tip, "Remove rear panel." After much sweating and swearing, I managed to snap the thing off without breaking too much. Those blue clips you see in the door below? They are supposed to UNCLIP from the door, and stay in the plastic panel! It only happened that way with two of these clips! As far as I can tell, I only broke one clip this time. I'll bet a second removal will break several more. My recommendations: Buy a couple of new clips before yanking this panel off, use a clip removal tool.... and WEAR GLOVES when you do it. The edges are very sharp (after removal, I trimmed and sanded all the edges to save me next time).
Clip: PN 90467-10188
OK... so here's the hatch without the plastic panel in place.
Blue clips were supposed to stay in the plastic panel, but you see that most
of them stayed in the metal holes.
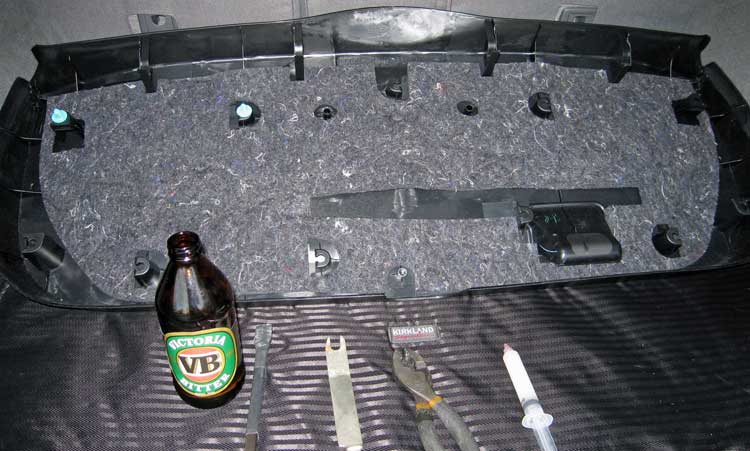
The back of the plastic panel with the two clips still in place...
along with some of the required tools for the job. The syringe is full of
synthetic grease - which is my attempt at making the clips easier to remove
next time. Some initial testing reveals that I'm just dreaming, however. This
will be a booger next time as well. But at least now I know (and you do too
- cheater!) where the clips are hiding at least.
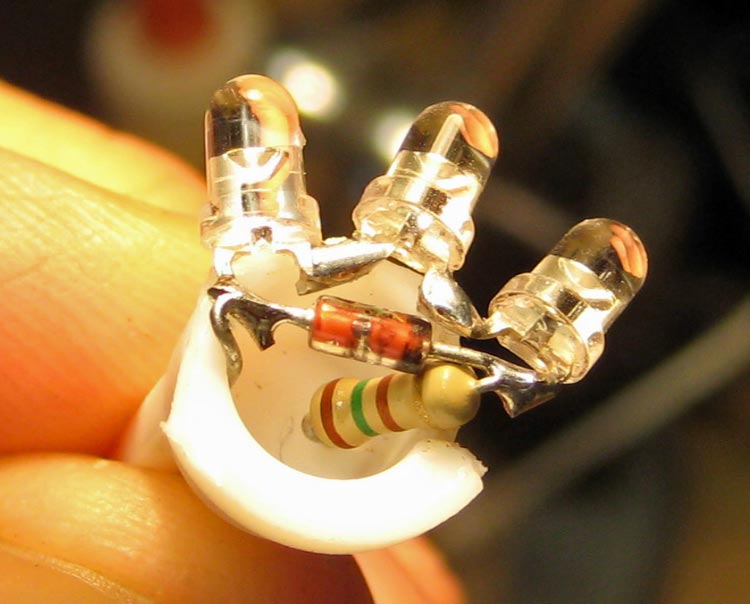
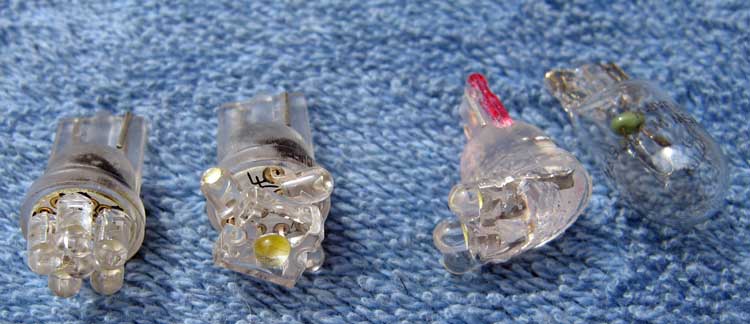
The 3x3mm Nichia wide-angle LED "bulb" (left) that
I built to replace the factory 5W bulb. My bulb uses 0.15W. The LEDs are in
series with a dropping resistor and a 12V zener diode in reverse acting as
a poor-man's regulator (anything over 12V doesn't go through the LEDs - thus
lowering the chance of V spikes toasting my cute little bulb). Here is the
fancy circuit in microscopic detail.
Compared to the factory bulb.
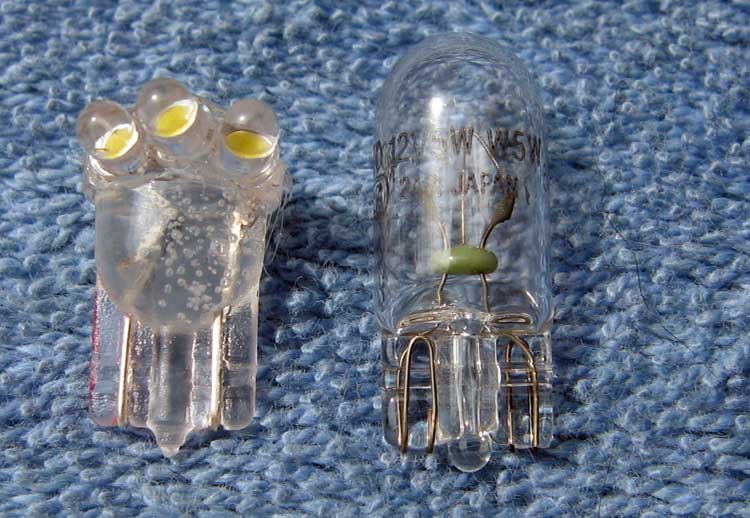
Here are two Chinese commercial bulbs (left) that I first installed
to see if there was an easy solution. They worked OK, but just didn't put
the light where it was needed - down on the plate. The bulb replacement that
I made (with red polarity stripe) is shown next to the factory bulb.
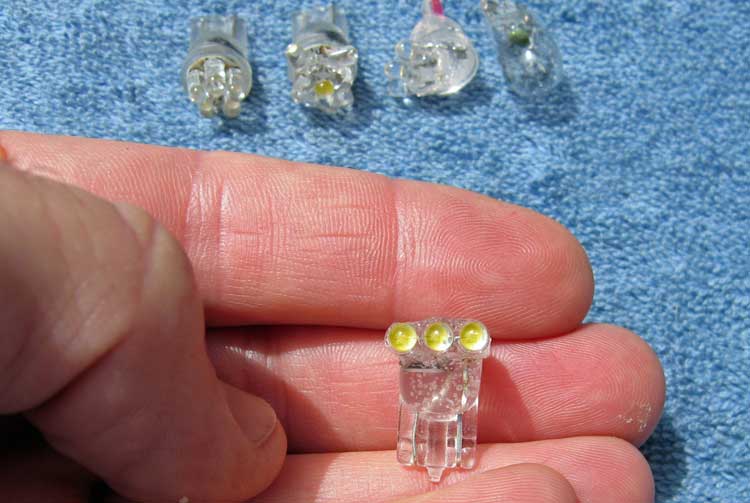
Holding one of the bulb replacements that I made.
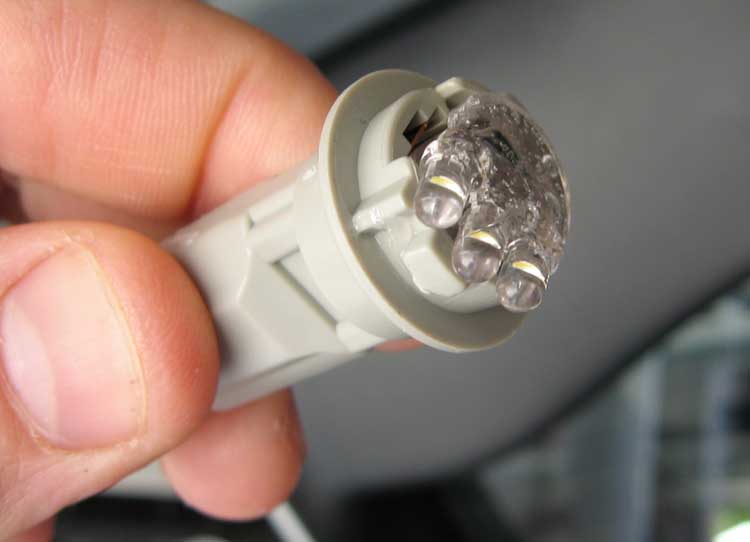
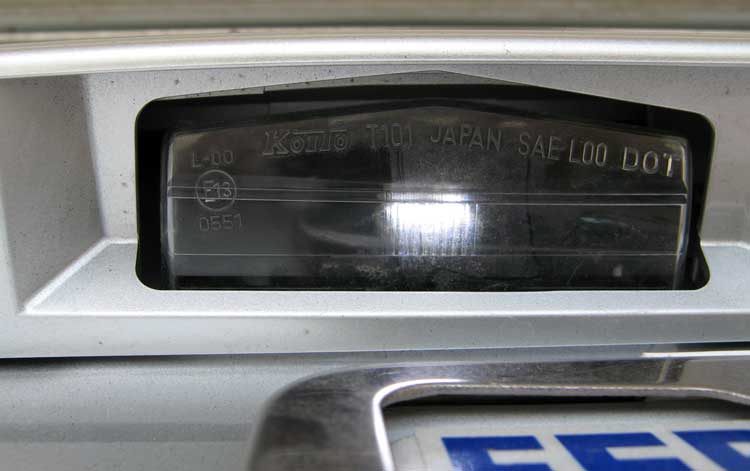
One of my bulbs in the fixture. The right-angle LED aiming puts
all the light where it belongs - down on the plate.
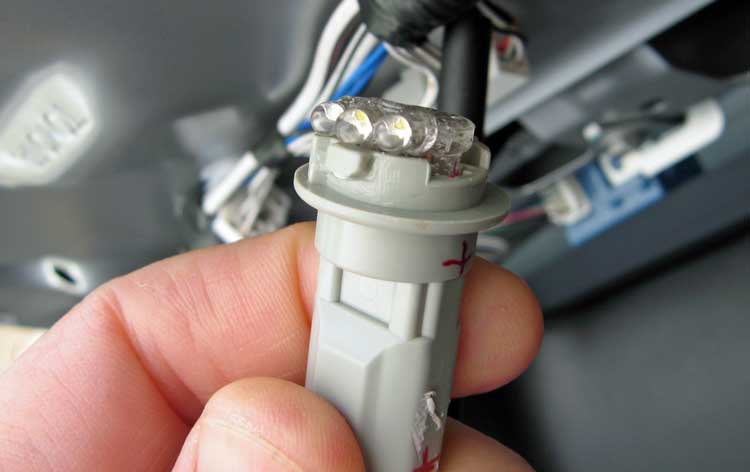
The + markings were required to avoid having to test polarity
each time. Reversing the polarity momentarily won't hurt anything, it us just
a pain.
Bulb in place in broad daylight.
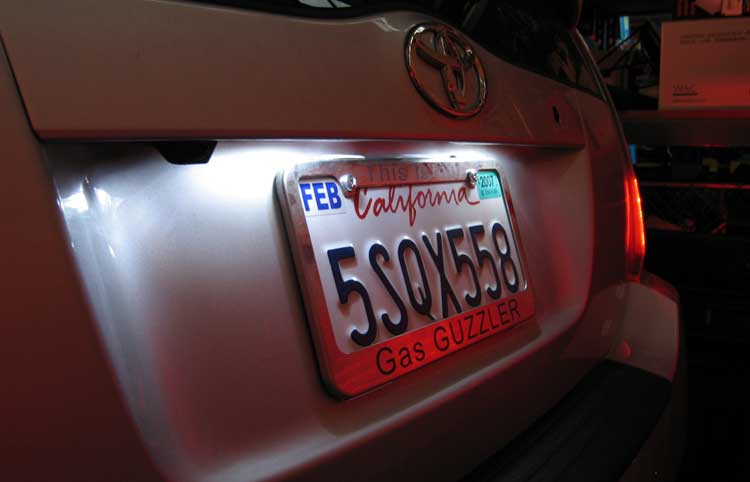
First shot of LED plate lights in the dark garage. The red on
the bottom of the frame is the tail lights reflecting off my white garage
door to stage right.
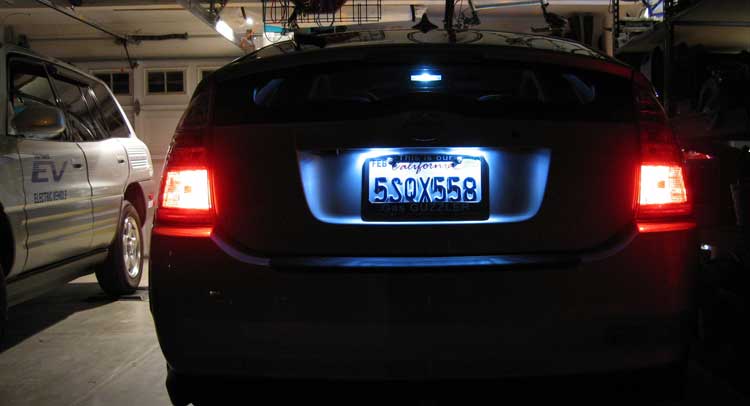
I first made the bulbs aim straight down, but that left the
middle of the plate a bit dark (you can see that in the picture above), so
I next reconfigured them to aim inward a bit more, and the coverage is much
more uniform now. The light is NOT as blue as it looks here. Startlingly white,
actually. But the camera tries its best. The bright light above the plate
in the middle is the front LED dome light shining through the tinted back
window. I don't think these are any brighter than the incandescent lights,
but it certainly gives a high-tech look. And over the life of the car, it'll
probably save me 0.000000000324 gallons of gas.
They work. I'm done.
