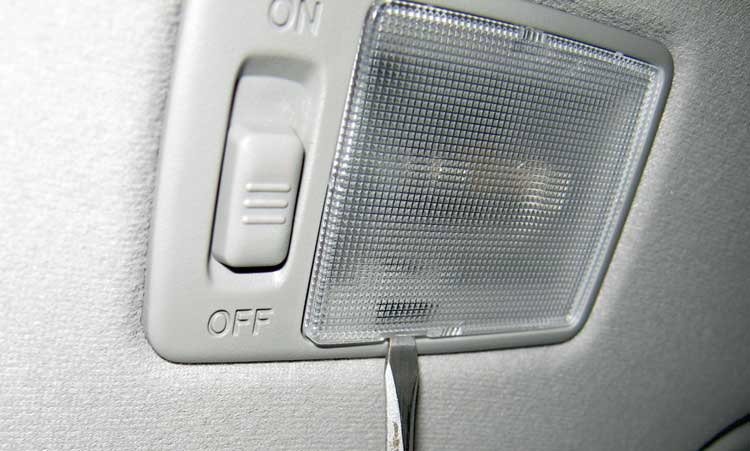
The "vanity lights" behind the sun visors were the last to succumb to the LED treatment. Turn off the power to the fixture, pop out the diffuser with a small screw driver, pull the bulb clip over to allow the factory bulb to drop out, wiggle this module in like a big, fat factory bulb, reinstall the diffuser, and you're good to go!
Here is the difference. What doesn't show is the astonishing
difference in brightness. That the LED (on the left!) is whiter is quite obvious.
That it is about 2x as bright is something you have to experience. If you
REALLY want lots of light up front, turn on all three LEDs in the front dome,
and both of these vanity lights. Wear sunglasses!

To pop out the diffuser, put a small screw driver in this slot
and pry gently. With a little practice, you can get the the diffuser to go
flying over your shoulder. :)

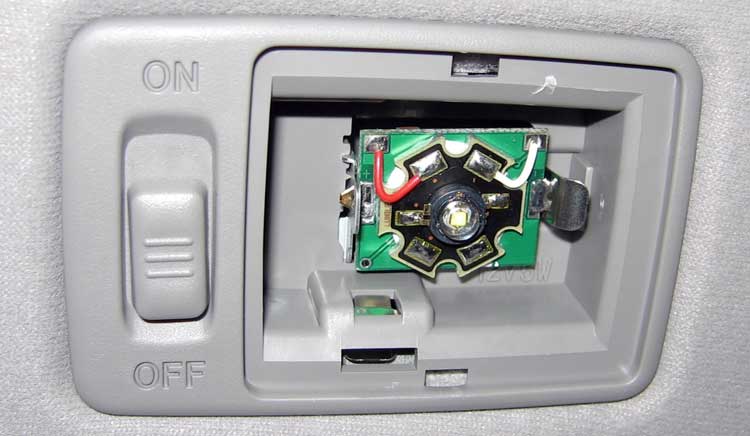
Here is the LED module in place - in the proper orientation.
Positive side of the circuit (and LED) goes toward the switch. When installing
the module, be sure that power to the fixture is off to avoid shorts during
installation. Put the positive brass tab in the hole of the rigid switch-side
contact first, and snap the negative side into the hole of spring clip on
the right. It may not seem like it will fit at first... but eventually it
will - the circuit board is the same width as the bulb it replaces. Wiggle
and swear a bit. You'll be fine. It might have to wiggle into the little recess
behind the circuit board if it isn't aiming right on your first try. Do this
in a well-lit area (not in your dark garage) and you'll have more luck!

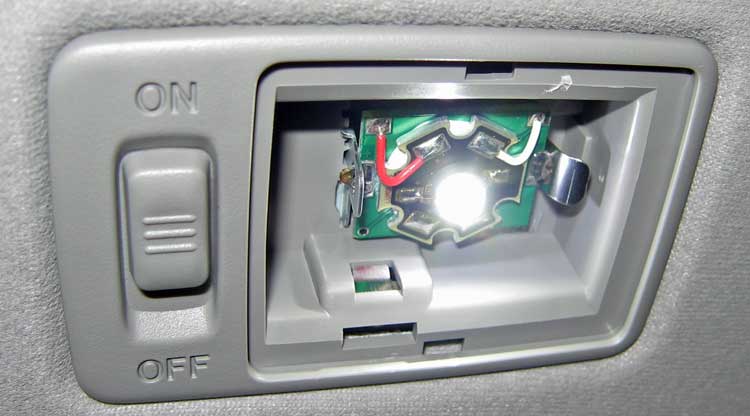
Module on with camera flash on.

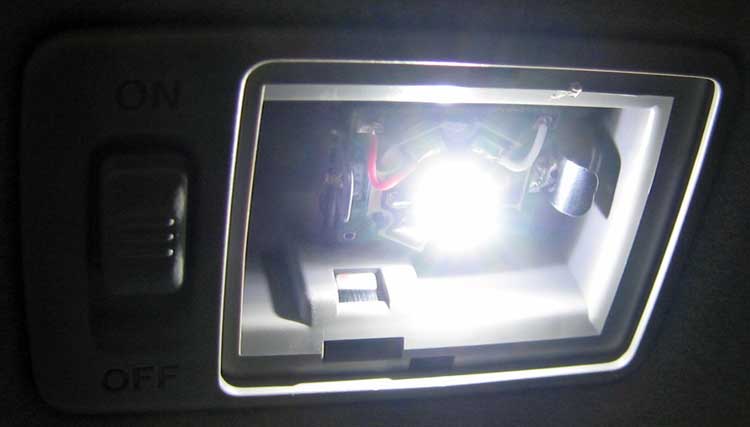
Module on with camera flash off.

