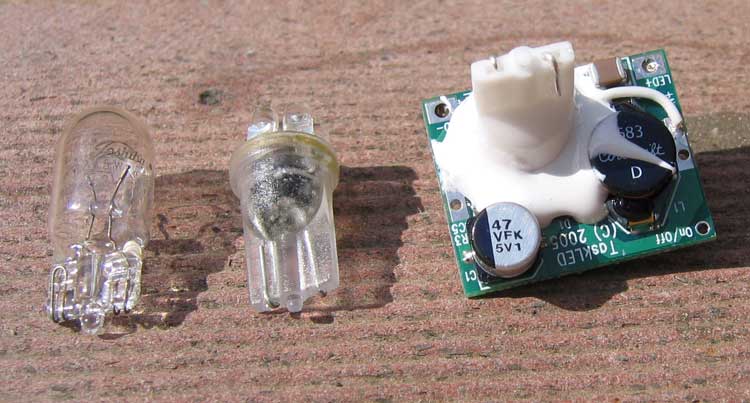
Here is my drop-in constant-current LED conversion for the front dome of the Prius. Using a constant-current driver and a 1W Luxeon Star LED mounted on a bulb base that fits the factory fixture. Factory bulb draws 8W, this module draws just over 1W. The LED is brighter than the factory bulb and will offer some measure of Aux battery rundown protection. Want to see the process by which the bases are affixed?
First off, here's the factory bulb on the left, and the LED
on the right. Bet you thought the factory bulb was "white" didn't
you?
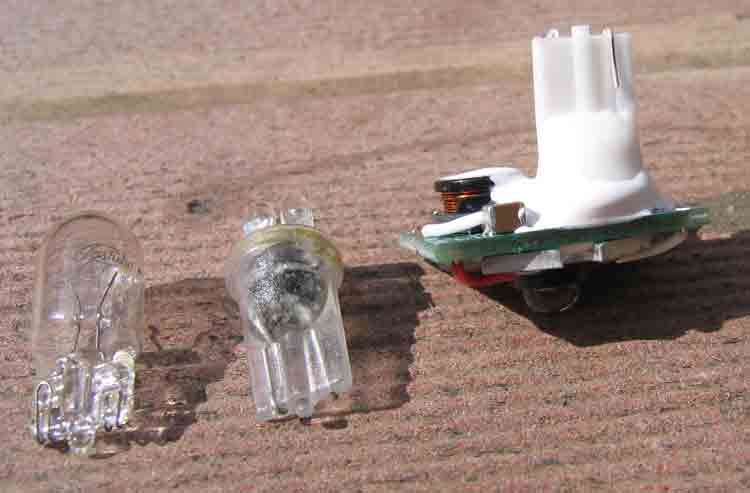
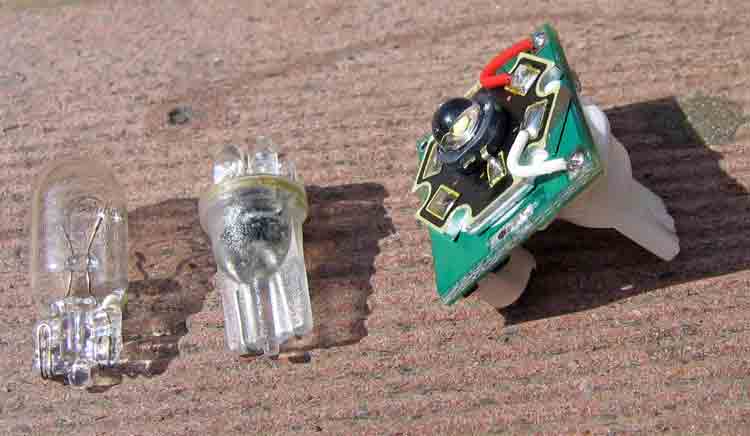
From left to right: Factory 8W bulb •
Imported Low-output 7-led resistored bulb • The module
that I made.
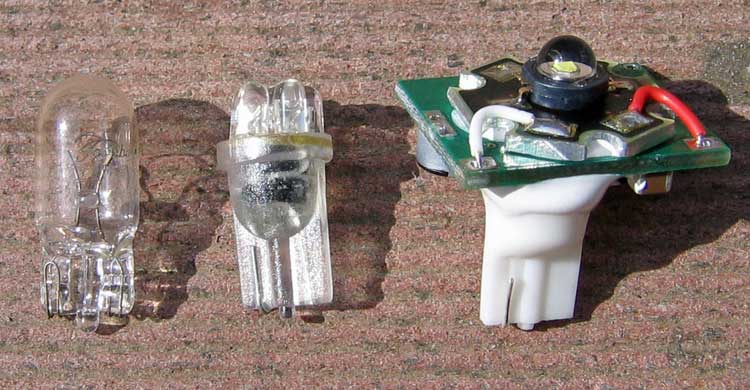
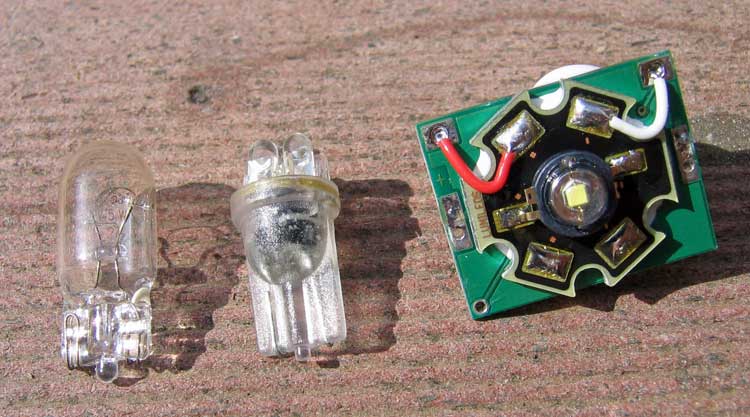
OK, so it isn't beautiful at the back.
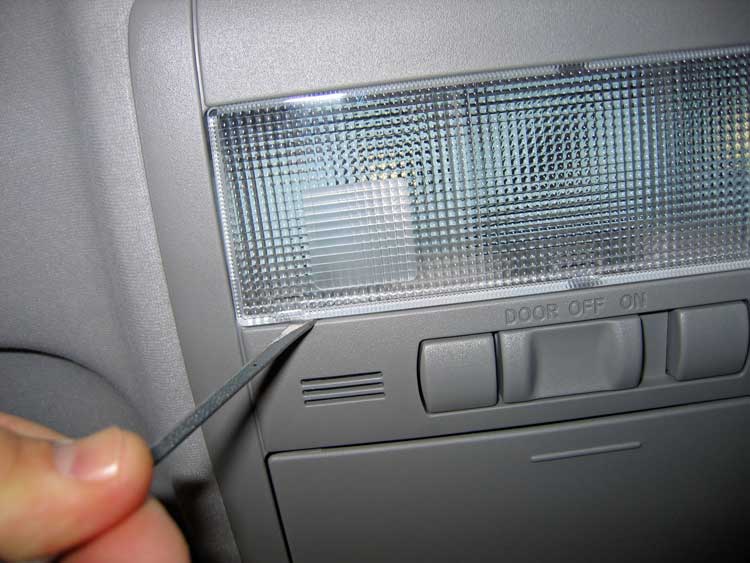
The clear diffuser is the only fixture disassembly needed. To
pop off the diffuser, there are three recesses to gently pry with a small
screw driver. Get one corner up like this, then move to the middle of this
edge... and then the far side of this same edge. It comes off very easily
without damage.
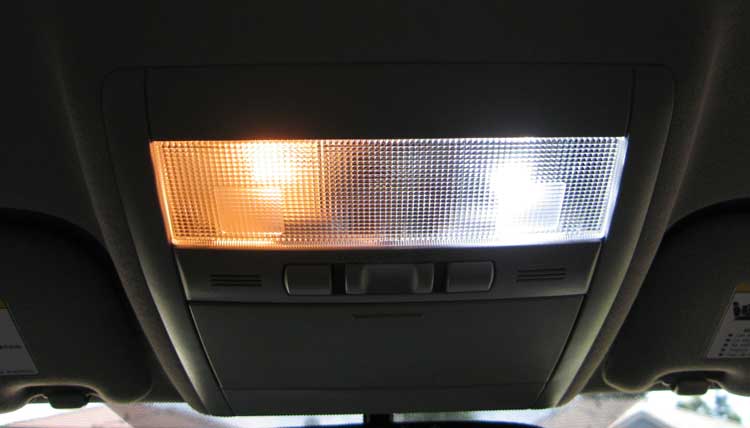
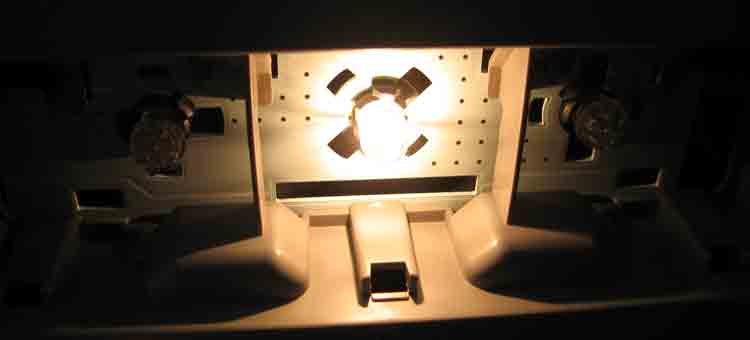
Here is what the factory bulb looks like. (no flash). Remove
the factory bulb (after is has cooled!) by pulling straight down.
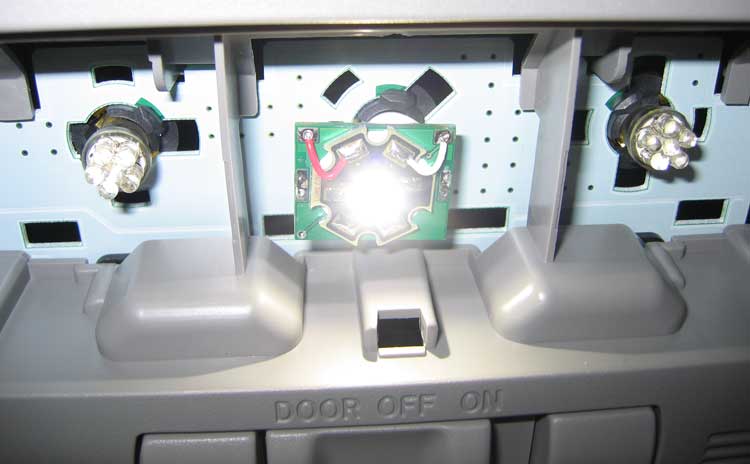
And the new conversion in the center position (with flash on).
The little guys in the map light position are cheapie imports that are not
up to the task, but I wanted to give them a shot! To insert the new LED module,
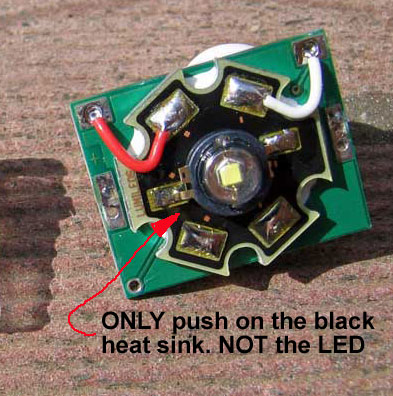
just align the plastic base with the socket, and push up on the heat black
LED heat sink "star." Avoid pushing directly on the emitter dome
as you may squash out some of the magic juice found within.
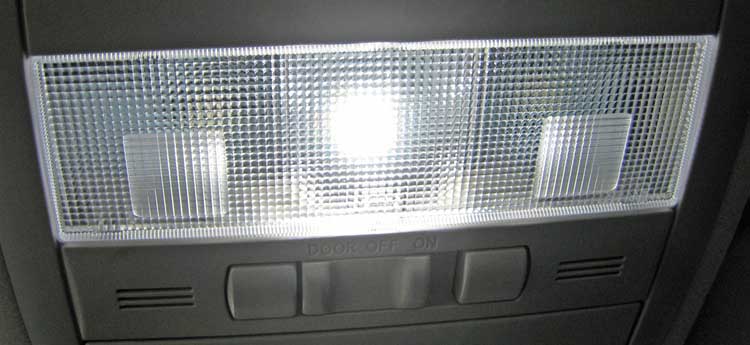
The LED provides more light, and much WHITER light than the
factory bulb, for about 1/8 the power draw. Because of the constant-current
driver, the factory "fade" no longer functions.
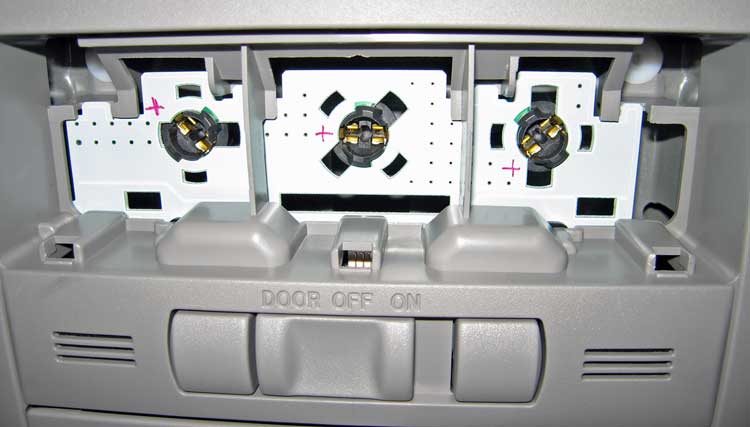
Installing the LED modules with reverse polarity will not hurt
anything, but you won't get light. Here I have marked the polarity of each
fixture for your convenience. There is a screened + and - on the circuit board
where the wires attach to the LED. Just match those up with this image, and
you'll get it right the first time. If it is still dark, turn it 180°
and you'll be good to go.
When installing these modules, push only on the black star-shaped
heat-sink on which the LED is mounted. Do NOT push directly on the clear dome
of the LED (you can destroy the LED with too much pressure), or the edges
of the circuit board (which can bend and crack the epoxy bond to the base).
These modules are pretty durable - I'm just pointing out some cautions!
