Yakima Tracks for Rav Racks
I initially purchased the factory Toyota racks, and used them a few times to transport long items. They look great, come with locks and are a great value. Apparently, they are not sold any longer though! I had a few minor gripes about the factory racks:
Since Yakima has no official "fit list"
entry for the Rav4 in their records, the first order of business was to figure
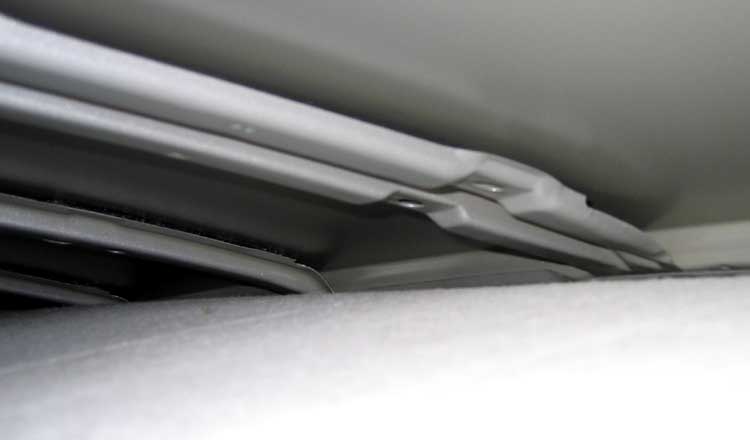
out where the strengthening ribs under the roof skin are located. Yakima told
me not to install tracks on this vehicle, so the challenge was on! The headliner
needs to be at least partially removed to see in there. The ribs are NOT evenly
spaced, nor are they all the same width.

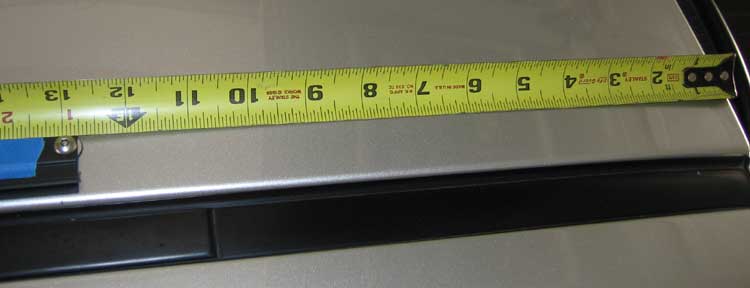
After measuring 1,241 times from above and below
the roof, I decided that 13" from the rear lip (see below) was the ideal
location for that first hole. Oops. Turns out it was a wee bit too short! 13
3/8" would be perfect. Was trying to just barely miss the rear stiffening
rib, but managed to eclipse it by 1/4". The good news is that if anybody
else wants to do this, they can do it right the first time! I ended up just
bending the edge of rib out of my way, so the miss was not a show-stopper. All
other holes lined up just great. The tracks each have eight holes, and only
six screws are needed, so the other trick is to skip the appropriate holes.
The Ends, of course, are mandatory screw locations, though!
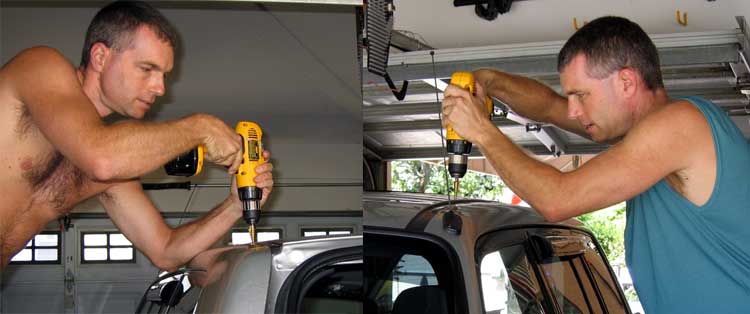
Operation Rav4EV Swiss Cheese has begun! Six
holes per side. (Hide the women and children! Sorry, first shot taken before
I realized I should be decent for public exposure.)
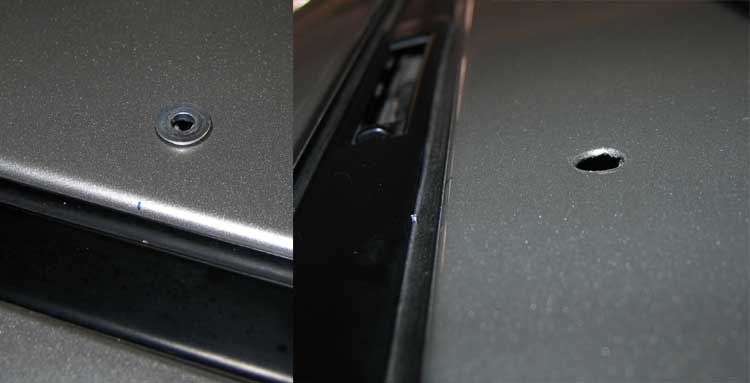
Holes all drilled (left) and threaded inserts
installed (right)
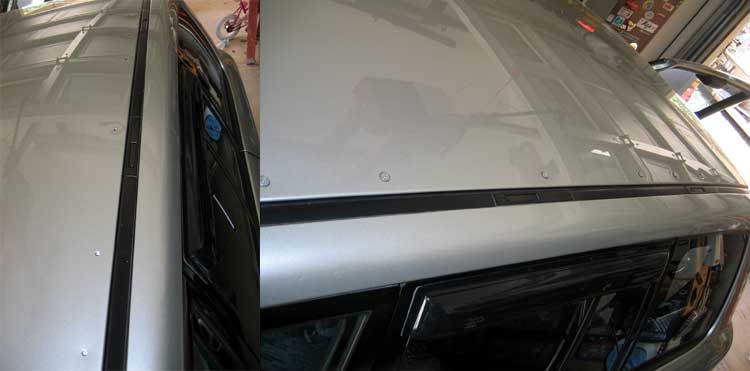
Detail of threaded insert (left) and hole before
insert (right). The holes were drilled with 1/8" pilot bit, and then widened
to 9/32" with a step bit. After drilling, the holes were painted with official
Toyota touch-up paint to re-seal the edges.
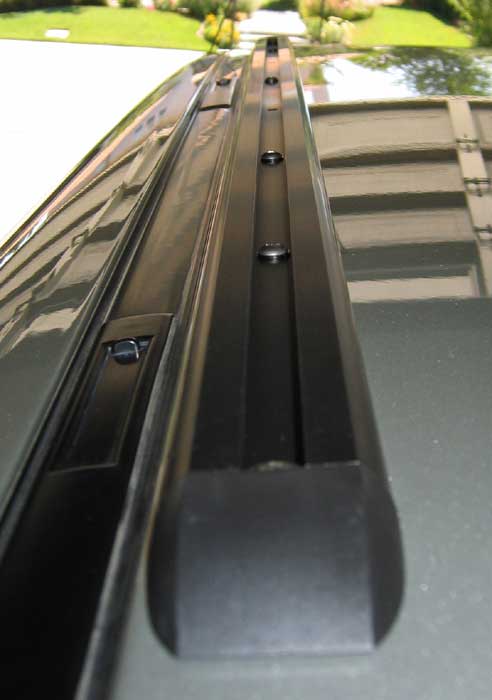
First track installed and ready for action. Each
screw has a rubber gasket (above and below the track) and silicone sealant where
the screw enters the roof.
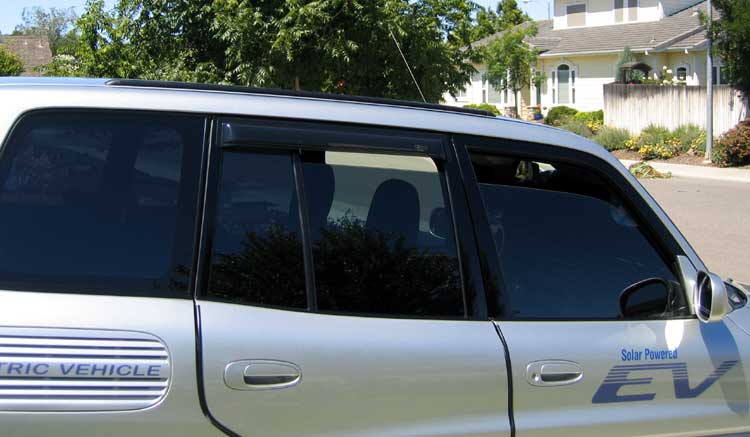
Now I can mount my towers and cross-bars anywhere
along the track I want. Because of the huge surface area of the tracks, the
racks can hold substantially more than the typical units that have feet resting
on the sheet metal. Below is what the tracks look like from eye-level with no
towers or bars. Sorry about the poor contrast with my tree!
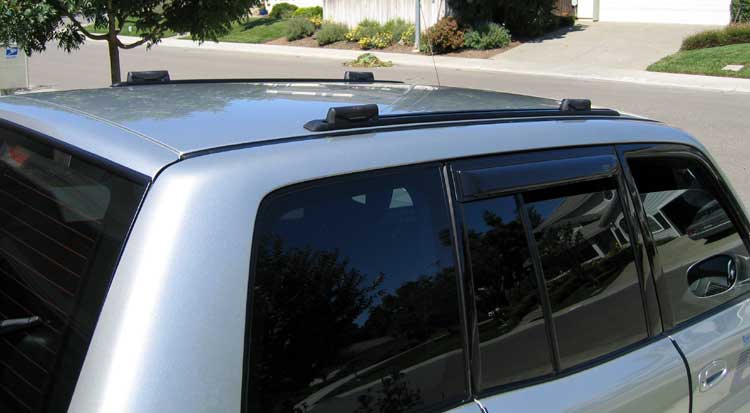
And here with the addition of the "landing
pads" - the pieces that attach to, and can slide along the tracks and hold
the towers.
Next it was time to mount the towers and bars,
but first another modification was in order. The shortest bars Yakima sells
are 48". The next size is 58". They cost the same. While 48"
is a nice size that makes for a clean installation and keeps you from bonking
your head on the bar ends, that length makes toting a sheet of plywood a bit
tough. There's no room to strap the load down since the sheet is as wide as
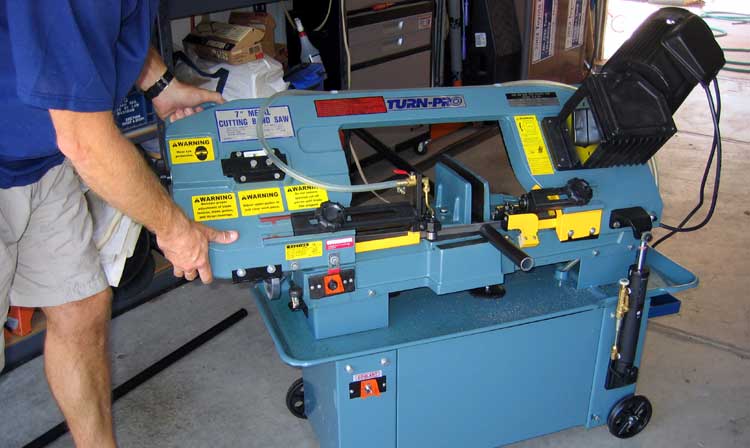
the bars. So the solution, of course, was to buy the 58" bars and lop off
seven inches. That left an extra 1.5" on each side, and everybody is happy.
Great excuse to use my new horizontal 7x12 band saw too! :) And I just
know I'll find a use for the nice plastic-coated 7" of bar end.
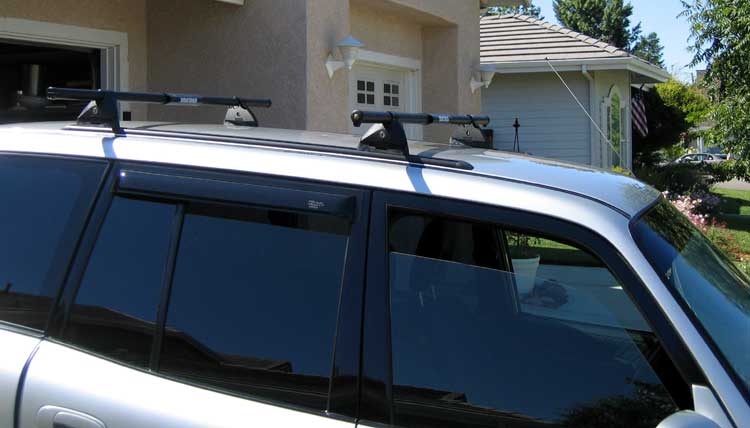
Everything done and pretty. The towers clamp
to the landing pads (and can be locked on) and the bars are held by the towers.
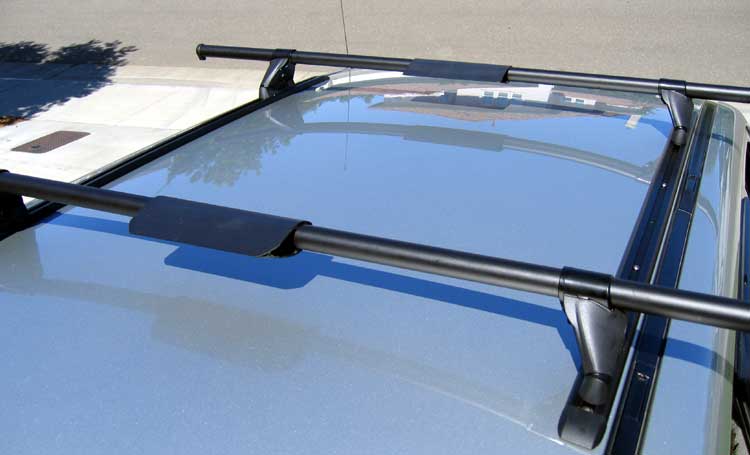
From the rear.

From my private helicopter. The air foils in
the middle of the bars just snap around and can be placed anywhere. They keep
the bars from humming on the freeway. Cheaper and WAY easier than a deflector,
and they work great!
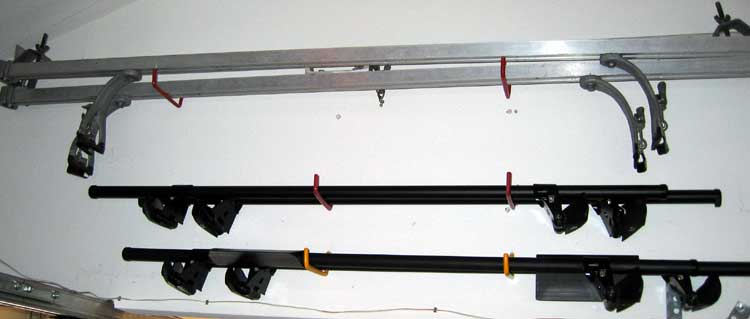
The rack menagerie. The other Yakima bars are
for our Civic. They both use the same system and the same key. The giant square
bars on the top are what I used on my truck, and will eventually build onto
my utility trailer.
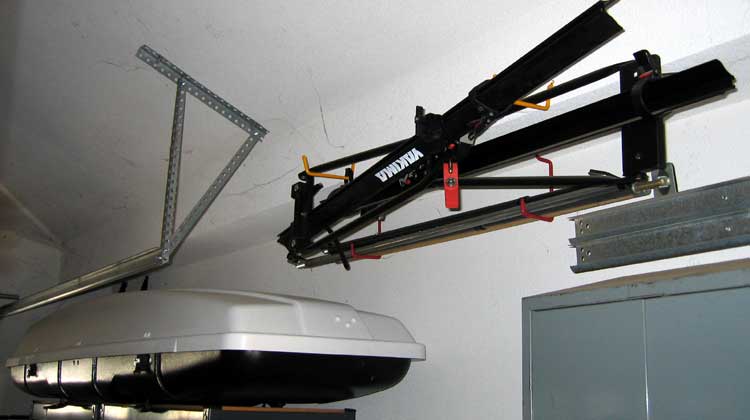
Some other Yakima goodies. The white-topped Rocket
Box is my most-used rack accessory. It is how we get away with two small cars
in the family. With that box on either car (usually the Civic) we can haul a
long weekend's worth of camping gear and have room for bringing home souvenirs.
The crazy black things are up-right bicycle mounts that do not require the removal
of the bike wheels. I have not been using those since I bought the hitch-mount
bike rack that also fits both cars.
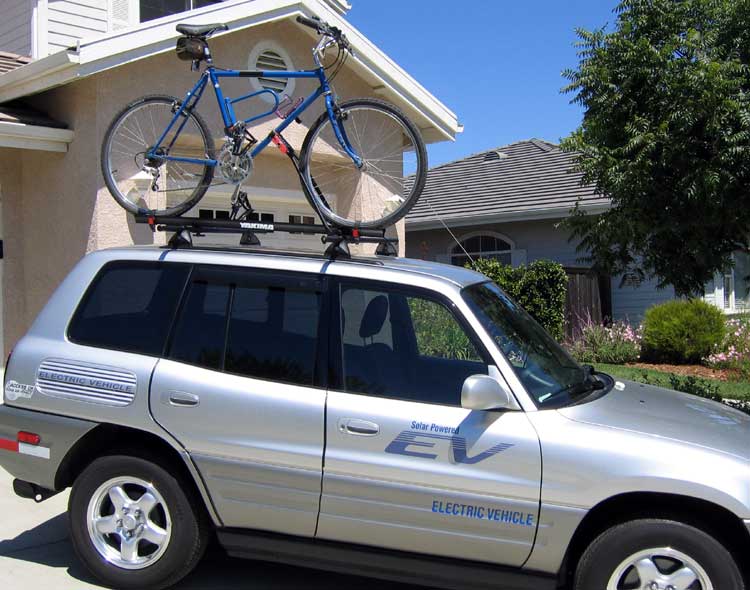
Using the Yakima "LockJaw" on the new
racks.
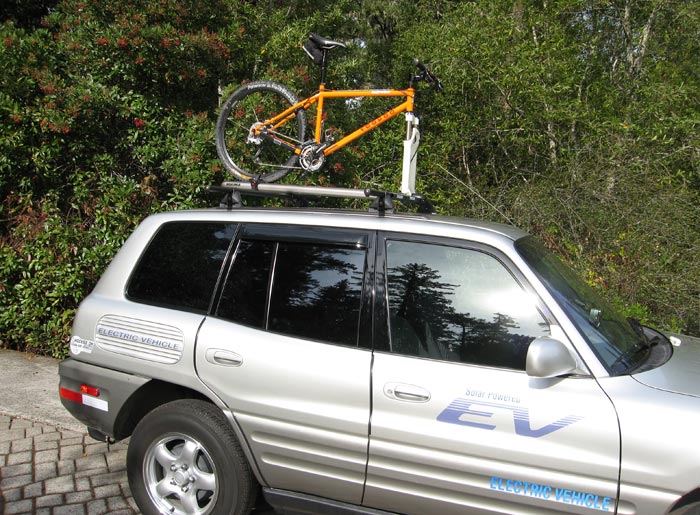
New bike and new bike mount on the Rav racks.
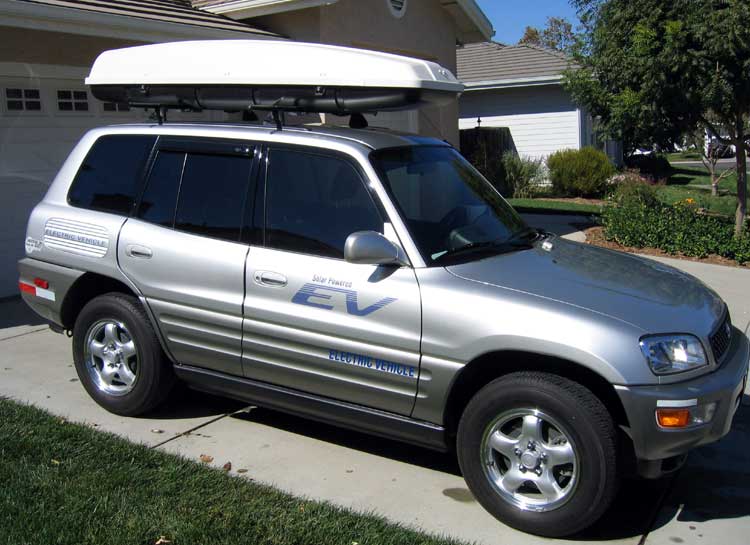
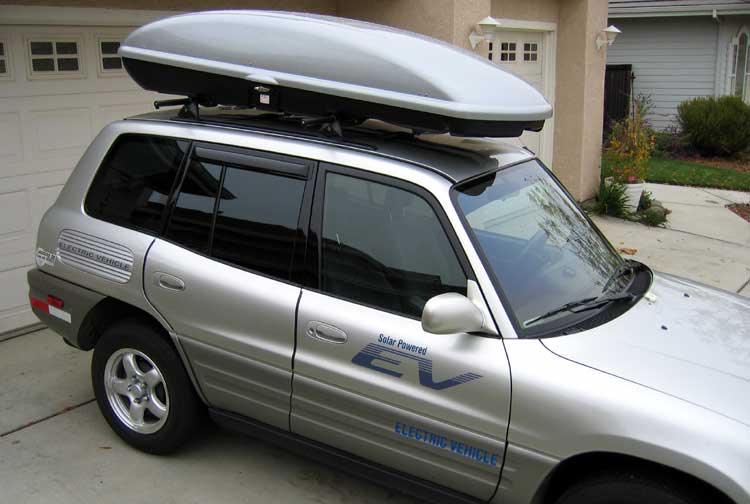
Some cargo boxes on the new rack (something that
can't be done on the factory rack, BTW).
 |
Click for |