Rav Lumbar Support
I have found the Rav4EV seats to be unsupportive at best. What is needed is a bit of air support! This air bladder system is a Rostra 250-1453 (rear mount). I bought mine here. The pump draws 1.9A when flowing free, and about 2.4A when working hard. Pushing the front of the switch slowly inflates the bag; pushing the back of the switch allows the bag to deflate. All you've got to do to determine the proper location, strap the bag in place, and find power. The rest is details.
Tools/supplies:
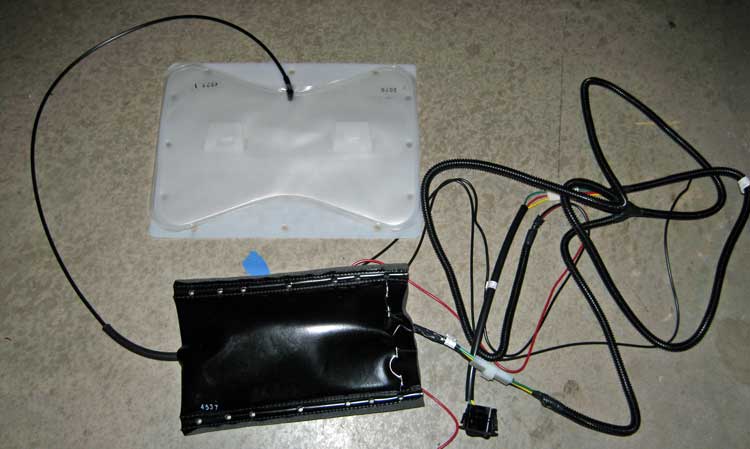
This is what you get in the box. Air bladder, air hose, black
padded bag containing the pump and relays, wiring, fuse and switch.
First step is to remove the seat. Snap off the plastic covers on the mounting bolts, and unbolt the four corners (two socket sizes). Tilt the seat back and unclip the connectors. Slide the seat back on its rails (to allow it to fit easier through the doorway) and extract the seat from the vehicle.
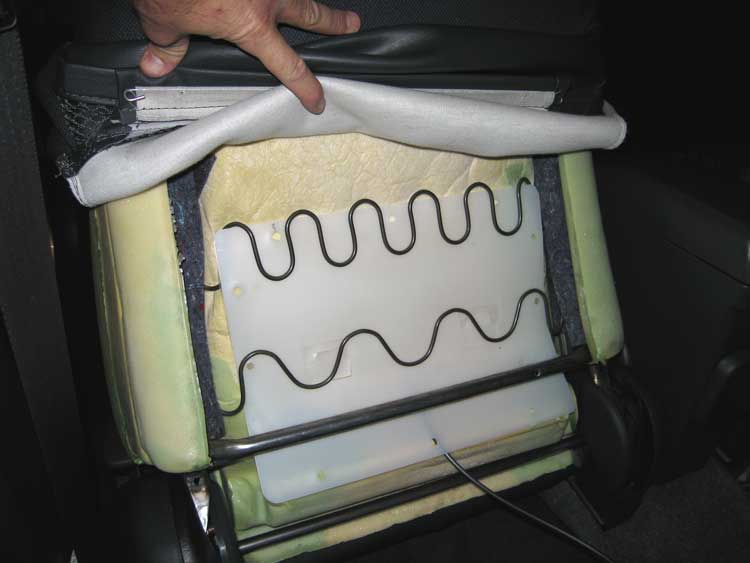
Here's where I decided to put the bladder. Behind the cushion,
and quite low. Seat upholstery comes off by clipping the three hog rings (position
shown later) and pulling up the fabric (with heater element) while feeding
the heater cord between the cushions. The hardest part is taking care of the
heater element which is sewn to the back of the fabric cover. If I go back
in, I may raise the bladder an inch or two, and I will probably detach the
heating element from the cover and glue it to the foam where it should be!
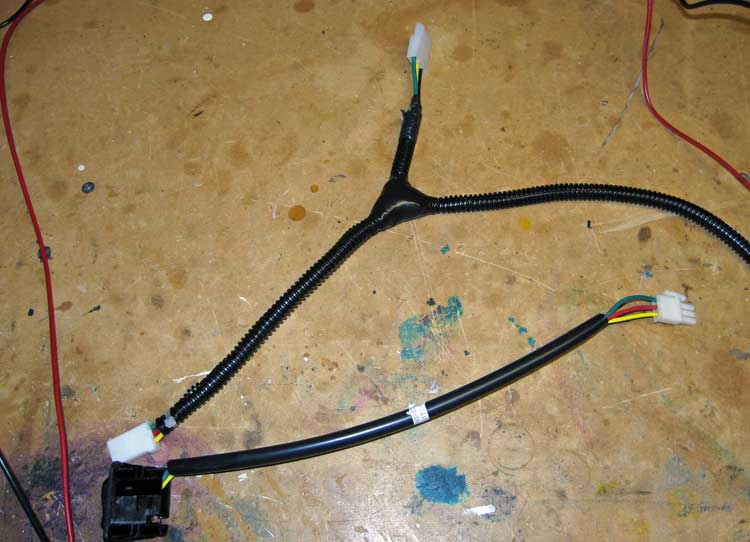
I shortened the harness considerably since I didn't need 30"
between connections under the seat!
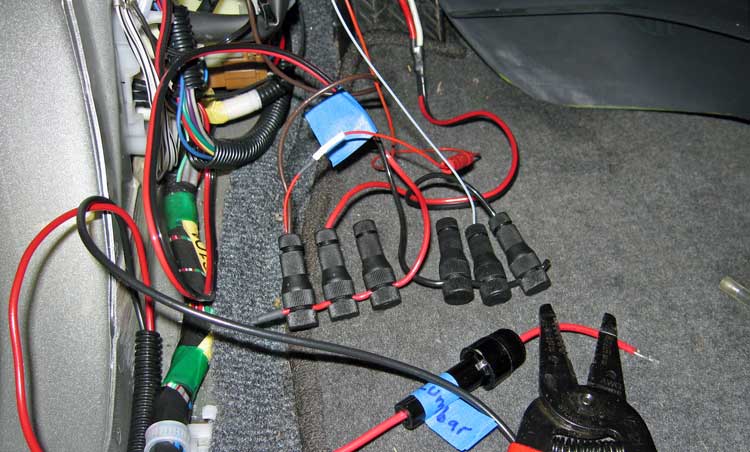
I tied into my Darell Bus™, and added a 5A fuse inline
with the +12V wire. Long ago I brought out an ignition-switched hot and an
always hot wire, and hid them behind the left kick panel for just these kinds
of projects. When needed, I clamp onto them with the black (posi-lock)
connectors you see here in a row. Power is probably most easily borrowed from
the lighter socket circuit.
The tangled mess of leftovers after installing two heated seats
and two lumbar supports. Lots of fodder for other projects.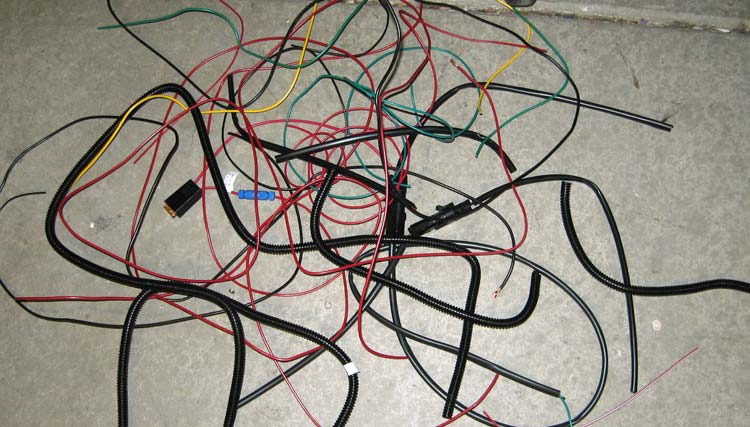
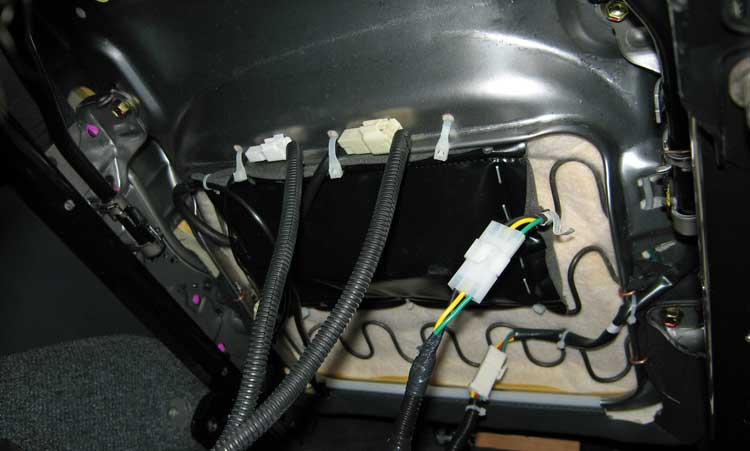
The newly prepared harness in place next to the factory seat
connectors. From here it passes under the carpet toward the door, and along
the door sill to the left kick panel.

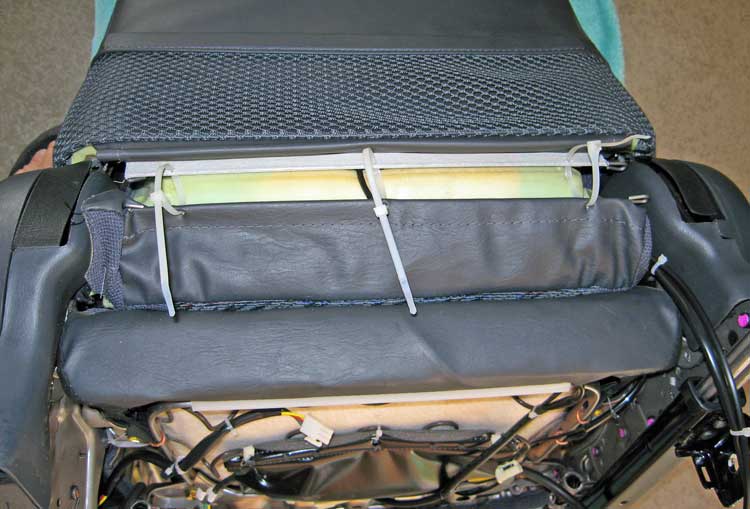
The three zip ties shown here are where the factory hog rings
were cut out. Putting zip ties back in place of the rings is simple, and I
prefer the zip ties to hog rings in almost all situations.
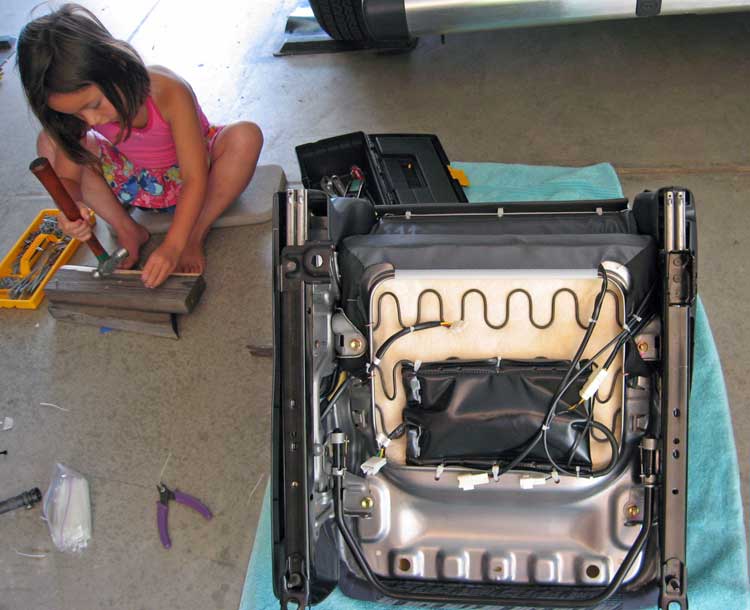
The pump and all connectors zip-tied in place under the seat
just before reinstalling. My assistant is making sure the 2x4s are secure
so there's no chance of the project failing.
Connections made with seat tilted back... before bolting it
back down.
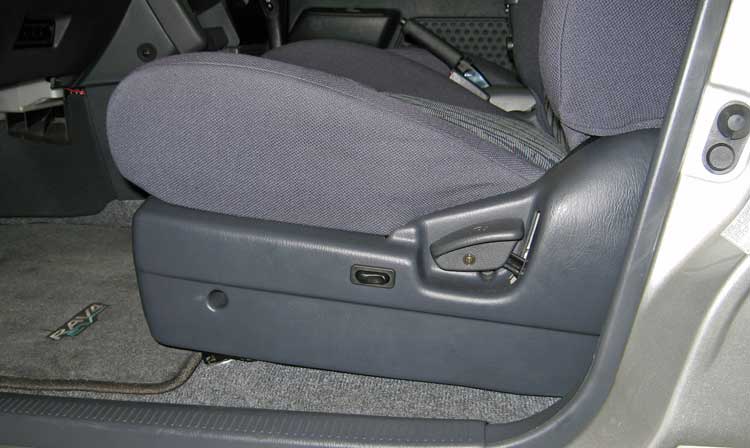
Finally, a hot knife (or stout utility knife) is used to cut
the rectangular hole for the provided control switch. I mounted my switch
on the plastic cover of the seat, and this is now the only outward sign that
anything has changed. Almost looks "factory."
This project worked out REALLY well, and is one of the few I can't believe I didn't do earlier!
Click for |