Prius EV Mode
Never attempt this activity. You will destroy your car and surely bring death or dismemberment upon yourself, your loved ones and your pets. I offer this information only for academic purposes, and am compelled to warn you that even veiwing it could put you in mortal danger. You assume all risk after reading beyond this line.
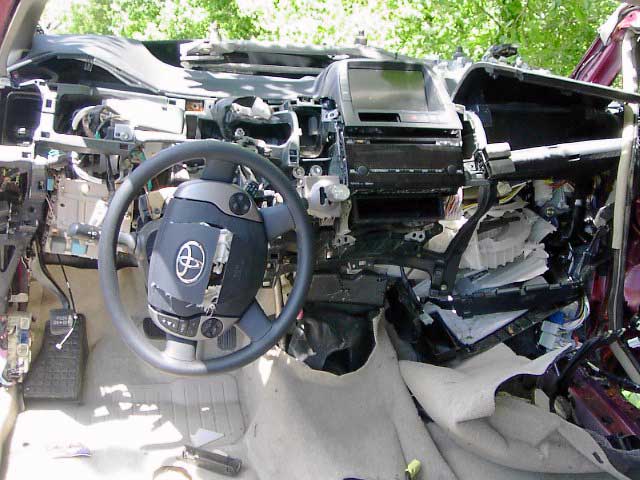
First step is some minimal dash disassembly:
Kidding! I'm pretty sure you never want your dash to look like that. You'll notice the deployed air bags?! Yikes. I figure there isn't much need to duplicate all the effort that has already been put into instructions for this, so I'll just provide some pointers:
sigma button general install headlight1 headlight2 coastaletech solution Gautam's instructions
The bottom line - all that needs to be done is to pull pin #27 in H14 to ground. You can do it fancy, or you can do it simple. The choice is yours. Just don't leave your dash as shown above.
I originally performed the "high beam" mod for EV mode. And that mod works great and is almost free. Really, the only part I don't like about the flasher mod is when I want to use EV mode at night when I have the lights on. I don't want to high-beam the guy in front of me! Plus I'm basically crazy, and have trouble sticking with the "easy" way. And let's face it - any time I can get something that's LED and says "EV" I'm all over it. I always wanted the lighted factory EV button that the rest of the world gets. So I ordered one up from Sigma (specify your model year!) - the kit that Edward now sells has the proper pins for the ECU end. VERY nice. And in it went.
For reference: Pinout for the 2006 switch and harness. Looking at the REAR of the harness with clip side up.

Pin 1 - Switch ground - to a grounded bolt somewhere.
Pin 2 - Light ground - tap into gray wire on dimmer.
Pin 3 - Light +12V - Rheostat controlled - tapped into red wire on dimmer.
Pin 4 - Switch positive. Connect to pin 27 on the ECU
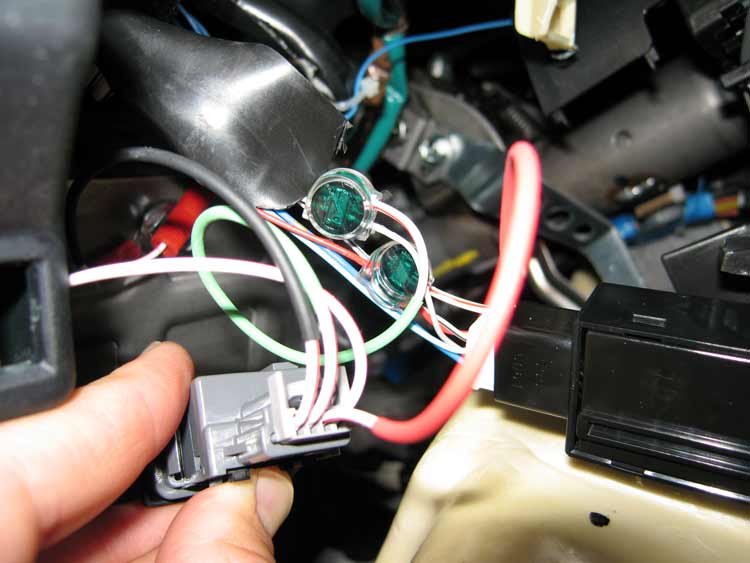
First thing I did was to color-code the wires exiting the harness
so I could more easily hook them up behind the dash. I just used heat-shrink
tube of different colors. Next I used the Radio Shack telephone connectors
to tap into the gray and red dimmer wiring harness. The I hooked up my previously-strung
wire from the ECU, and grounded the last wire (to a nut just behind where
the switch mounts).
A broader view of the dash pieces I pulled out. The steering
cowl is off because I had to remove the ECU wire from the headlight stalk.
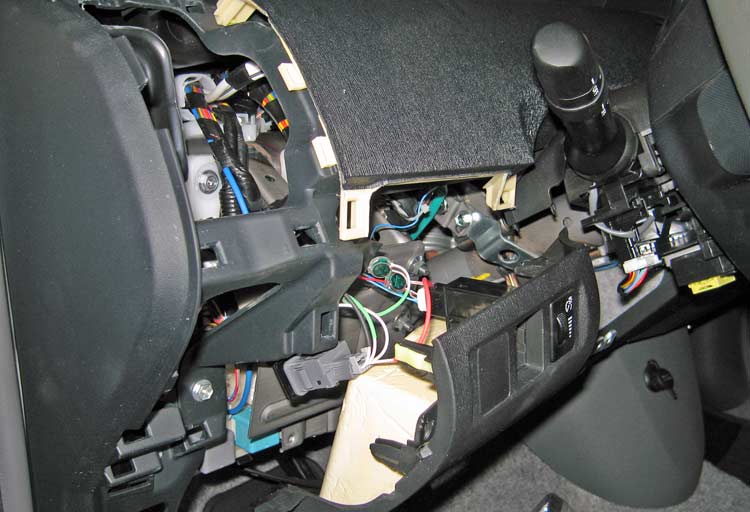
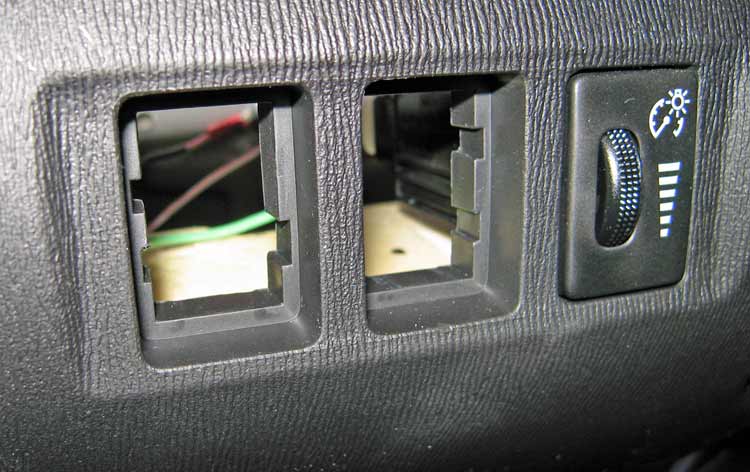
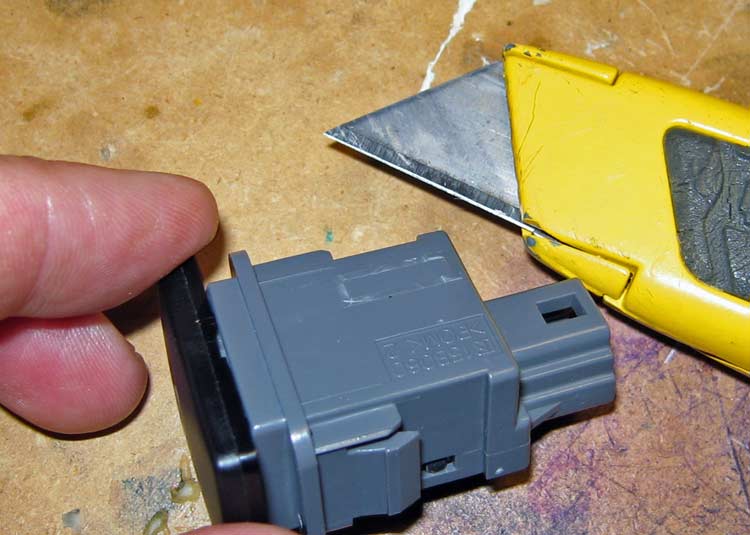
Note that the switch bays are keyed with slots. Toyota really
wants you to use the EV switch in that middle slot, but I find that the switch
is more obvious and easier to find in the out-board slot. Time for a bit of
switch surgery.
I cut off the rectangular tab on this side with a utility knife.
Pretty easy, and no blood was spilled.
Then I tried the same on the other side (don't do it this way!)
and was reasonably successful.
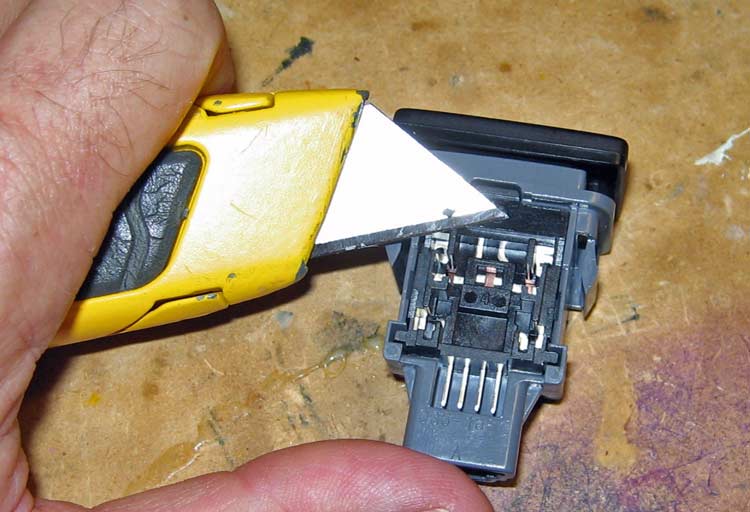
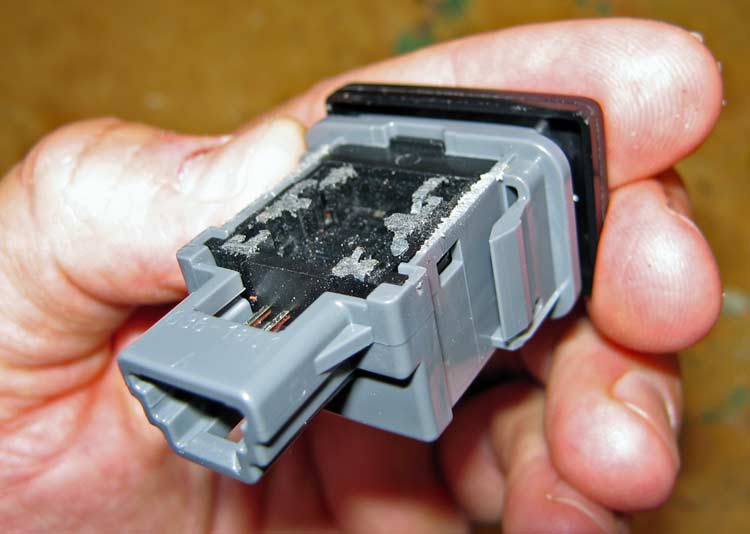
I found it easier to just sand them off, so that's how I finished
it up. One touch to the belt sander, and presto - no more keys.
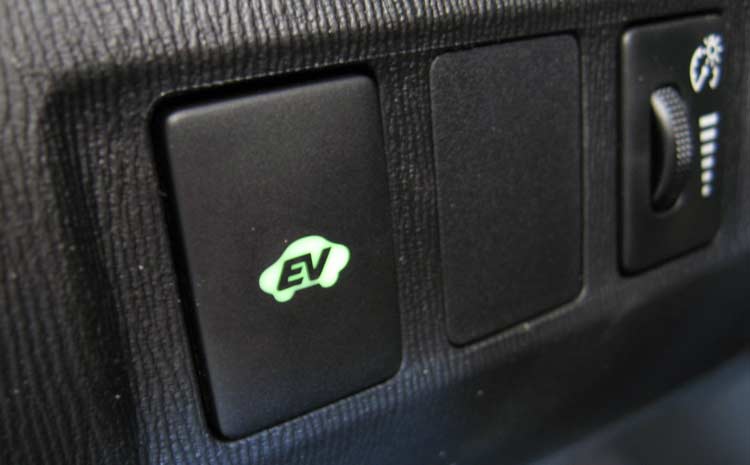
And here's the button installed in the "proper" hole
and lighted. Yay.
Another write up on the installation can be found here.
From KMO (PriusChat) - Here is what the EV
indicator looks like on cars that come with it from the factory (far right):
Ken (PriusChat) offers us this translation of the Japanese manual regarding the EV button:
In the "EV" drive mode, your vehicle runs like an electric vehicle, only using the electric motor driven via electricity which is stored in the hybrid vehicle battery. This mode is suitable for driving in residential areas in the early morning or in the middle of the night or in the covered parking lot because you do not have to worry about noise or exhaust gases.
Press the switch to turn on the electric motor power manually.
The indicator light in the instrument cluster comes on. Pressing the switch again will turn off this function and the indicator light.
Caution! The driver should pay full attention around the vehicle especially when it is driven only by the electric motor (with the gasoline engine stopped). People in the immediate area might misjudge the hybrid vehicle movement based on the absence of the regular engine noise.
In the following conditions, the "EV"
drive mode may not be turned on. In this case, the message appears I the multi-information
display and a beep sounds.
-The hybrid system gets hot. (after the vehicle is left in hot weather, after
driving on the slopes or high speed driving etc.)
-The hybrid system gets cold. (After the vehicle has long been left below
0oC (32oF).)
-During gasoline engine warm up
-The hybrid vehicle battery assembly charging level is 3 or lower.
-The vehicle speed is about 45 km/h (28 mph) or over
-The accelerator pedal is depressed strongly or on the slopes.
-The defroster is in use
Turning on in cold weather
When the engine is cold (for example early morning), it will start warming up about 10 seconds after the READY light comes on. During the warming up, the EV drive mode cannot be turned on. (The time before the engine starting varies depending on the temperature, air conditioning condition, etc.) To use the EV drive mode, press the switch before the engine starts.
In the following conditions, the "EV"
drive mode may be automatically cancelled whilst driving.In this case, a beep
sounds and the "EV" drive mode indicator light flashes three times
and then goes out.
-The hybrid vehicle battery assembly charging level is 2 or lower.
-The vehicle speed exceeds about 45 km/h (28 mph).
-The accelerator pedal is depressed strongly or on the slopes.
Although the available driving range differs depending on factors such as the hybrid vehicle charging level or air conditioning condition, it usually ranges from about several hundred meters to 2 km (about ? mile or less) when the vehicle speed is less than about km/h (28 mph).
As your vehicle is designed to have the best fuel economy during normal driving (driving in the combination of gasoline engine and electric motor power), frequent use of the "EV" drive mode may worsen fuel economy.
Click for |